
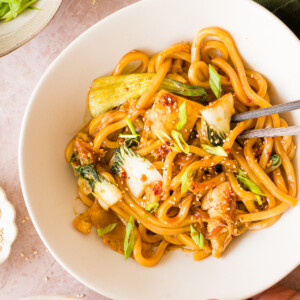
These chili garlic udon noodles with tofu are an easy vegan udon recipe made with chewy noodles, crispy tofu, and vegetables tossed in a savory, slightly spicy chili garlic sauce. It's a flavorful weeknight dinner that's ready in about 30 minutes!
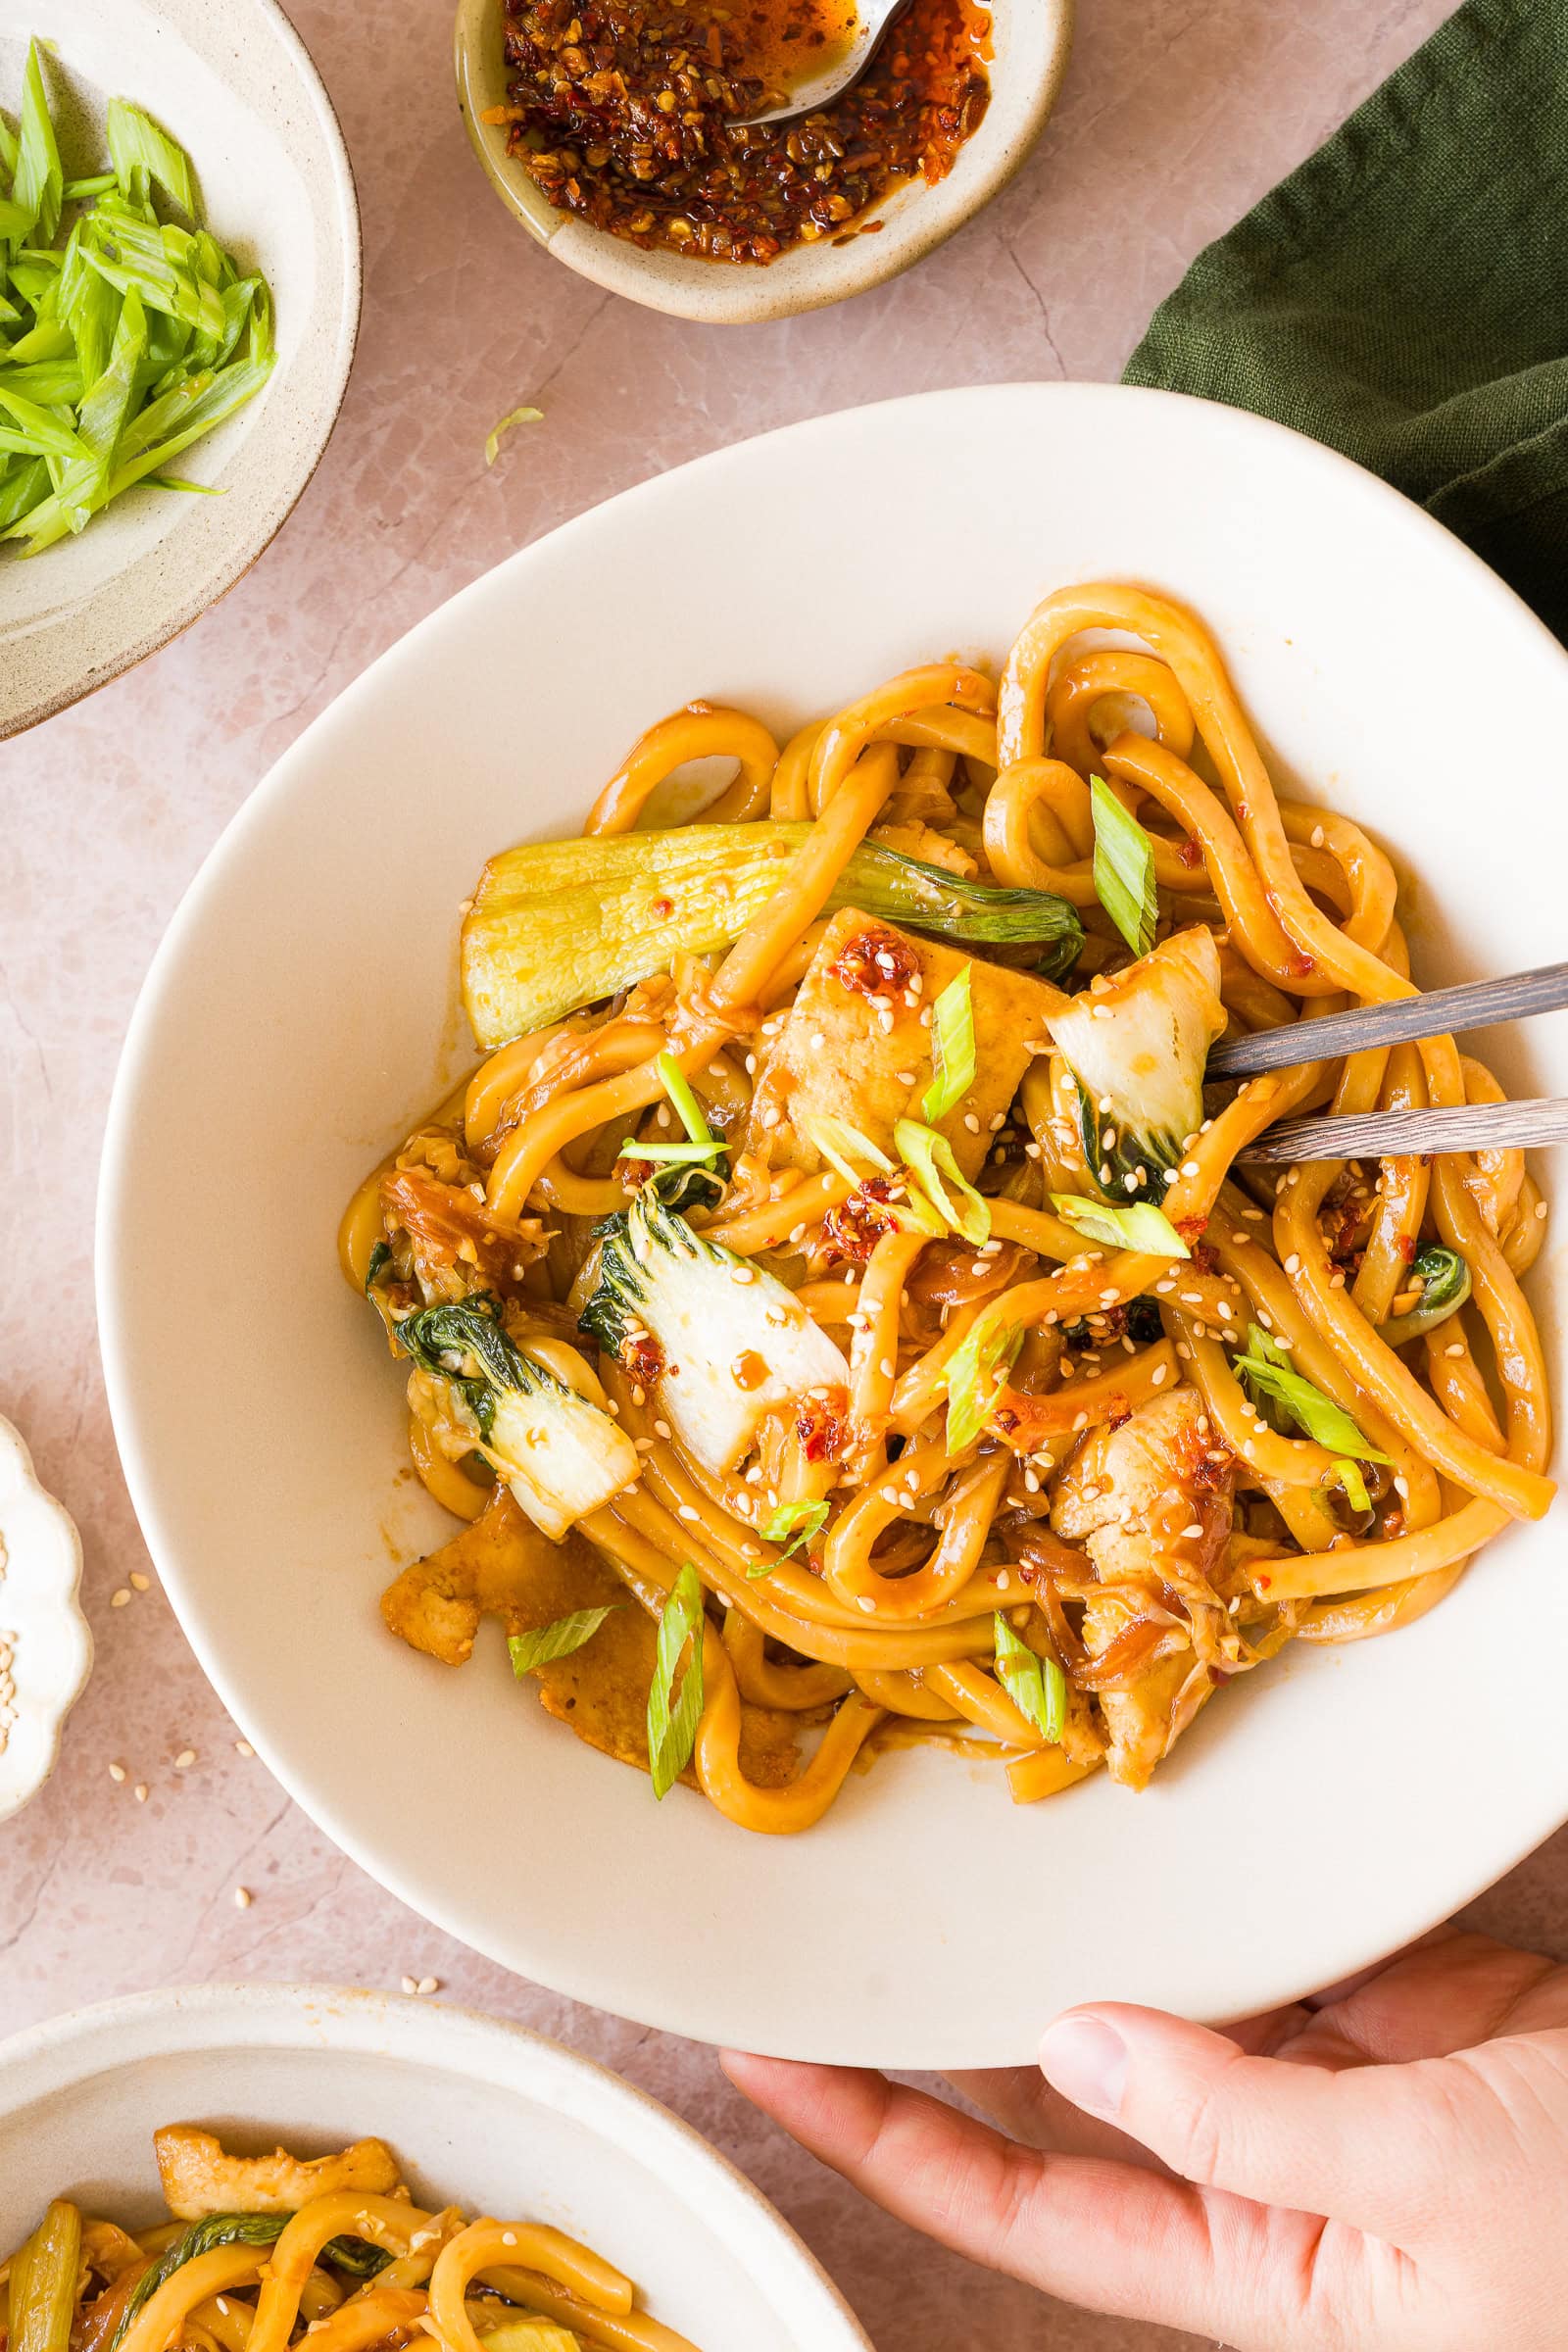
I tested this recipe with both baked and pan-fried tofu, and both methods work well.
Baking is more hands-off, while pan-frying gets the tofu browned and crisp a little faster.
Thinly shaving the tofu also gives it more surface area to crisp and helps it mix throughout the noodles instead of overwhelming the dish.
Jump to:
Ingredient notes
Here are the main ingredients you'll need, plus a few notes and substitutions.
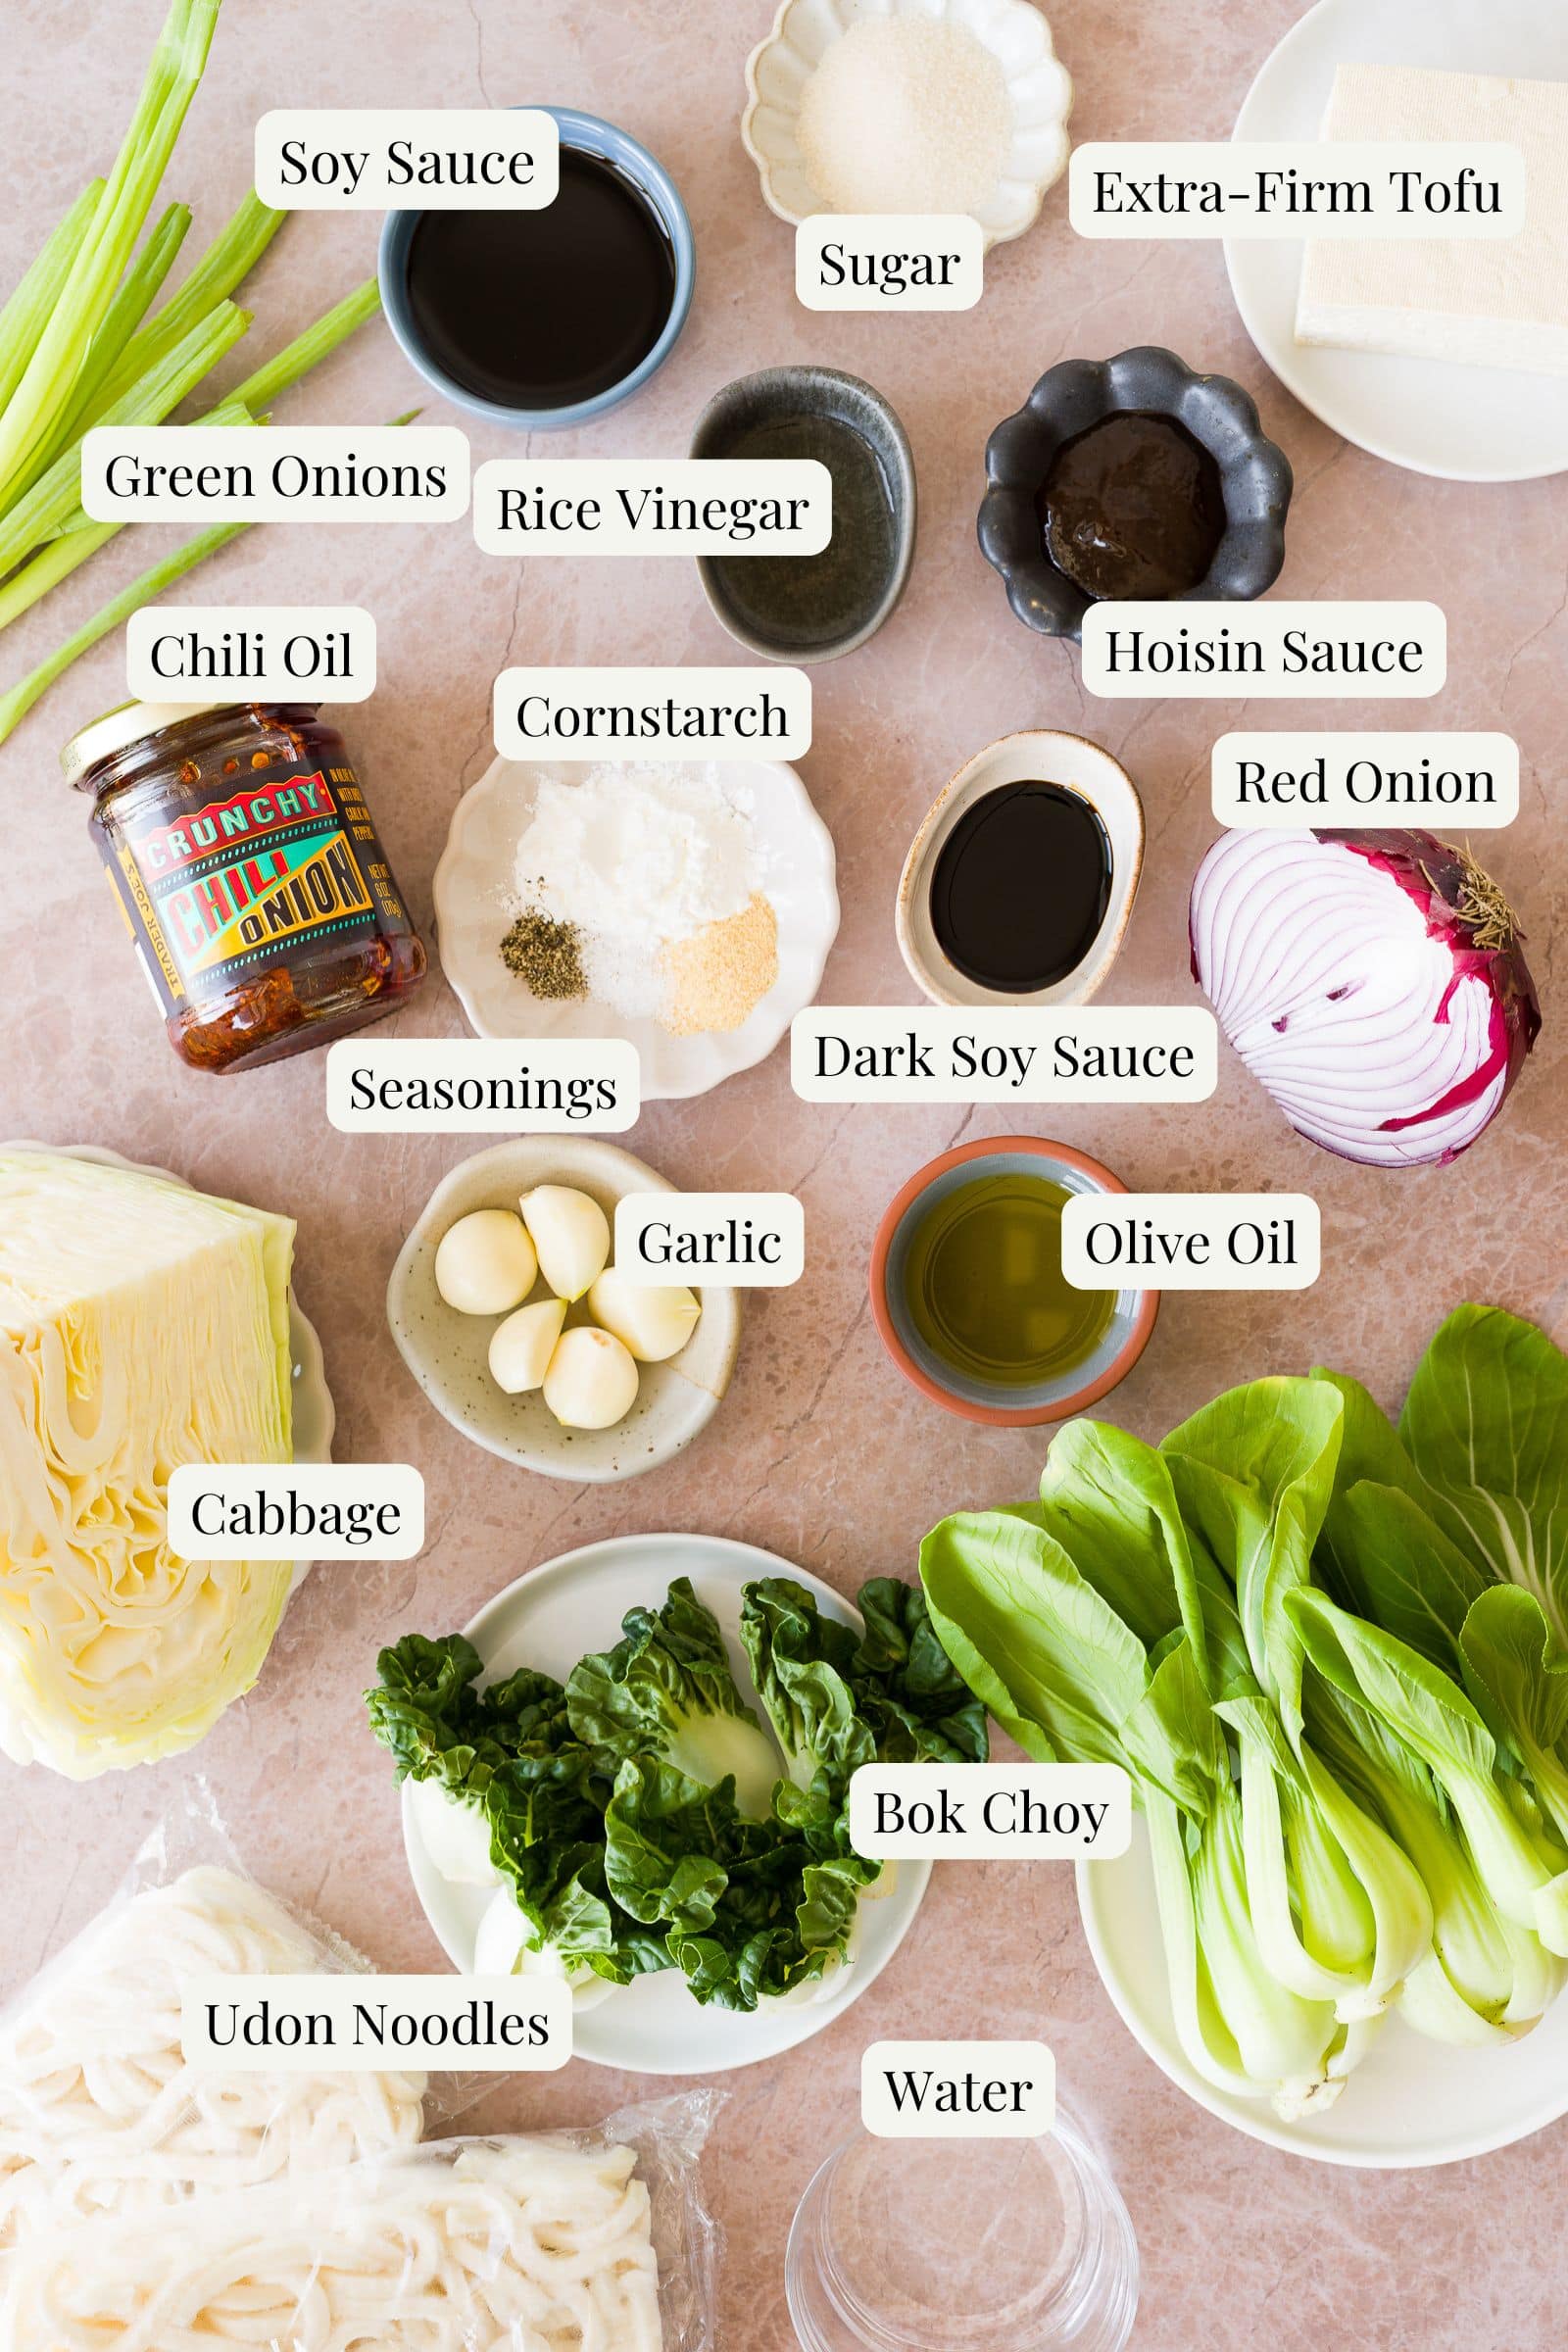
Extra-Firm Tofu: Use extra-firm tofu and press it well to remove excess moisture before shaving it into thin pieces.
Frozen Udon Noodles: I used frozen udon noodles, which have a thick, chewy texture that works especially well in this stir fry. Cook them according to the package directions, being careful not to overcook them since they'll finish in the sauce.
Cornstarch: A light coating helps the tofu brown and crisp whether you bake or pan-fry it.
Cabbage & Bok Choy: I use shredded cabbage and baby bok choy, but you can substitute other quick-cooking stir-fry vegetables.
Low-Sodium Soy Sauce: Using low-sodium soy sauce gives you more control over the saltiness of the sauce.
Dark Soy Sauce: Adds deeper color and a richer savory flavor than regular soy sauce. It's used alongside, not instead of, the low-sodium soy sauce.
Hoisin Sauce: Adds sweetness and savory depth to the chili garlic sauce.
Crunchy Chili Onion: I use Trader Joe's Crunchy Chili Onion, which adds heat, garlic, and savory flavor to the sauce. Other brands of chili crisp can work, but the spice level and flavor will vary.
How to Make This Recipe
Here's how to make these udon noodles with crispy baked tofu step-by-step.
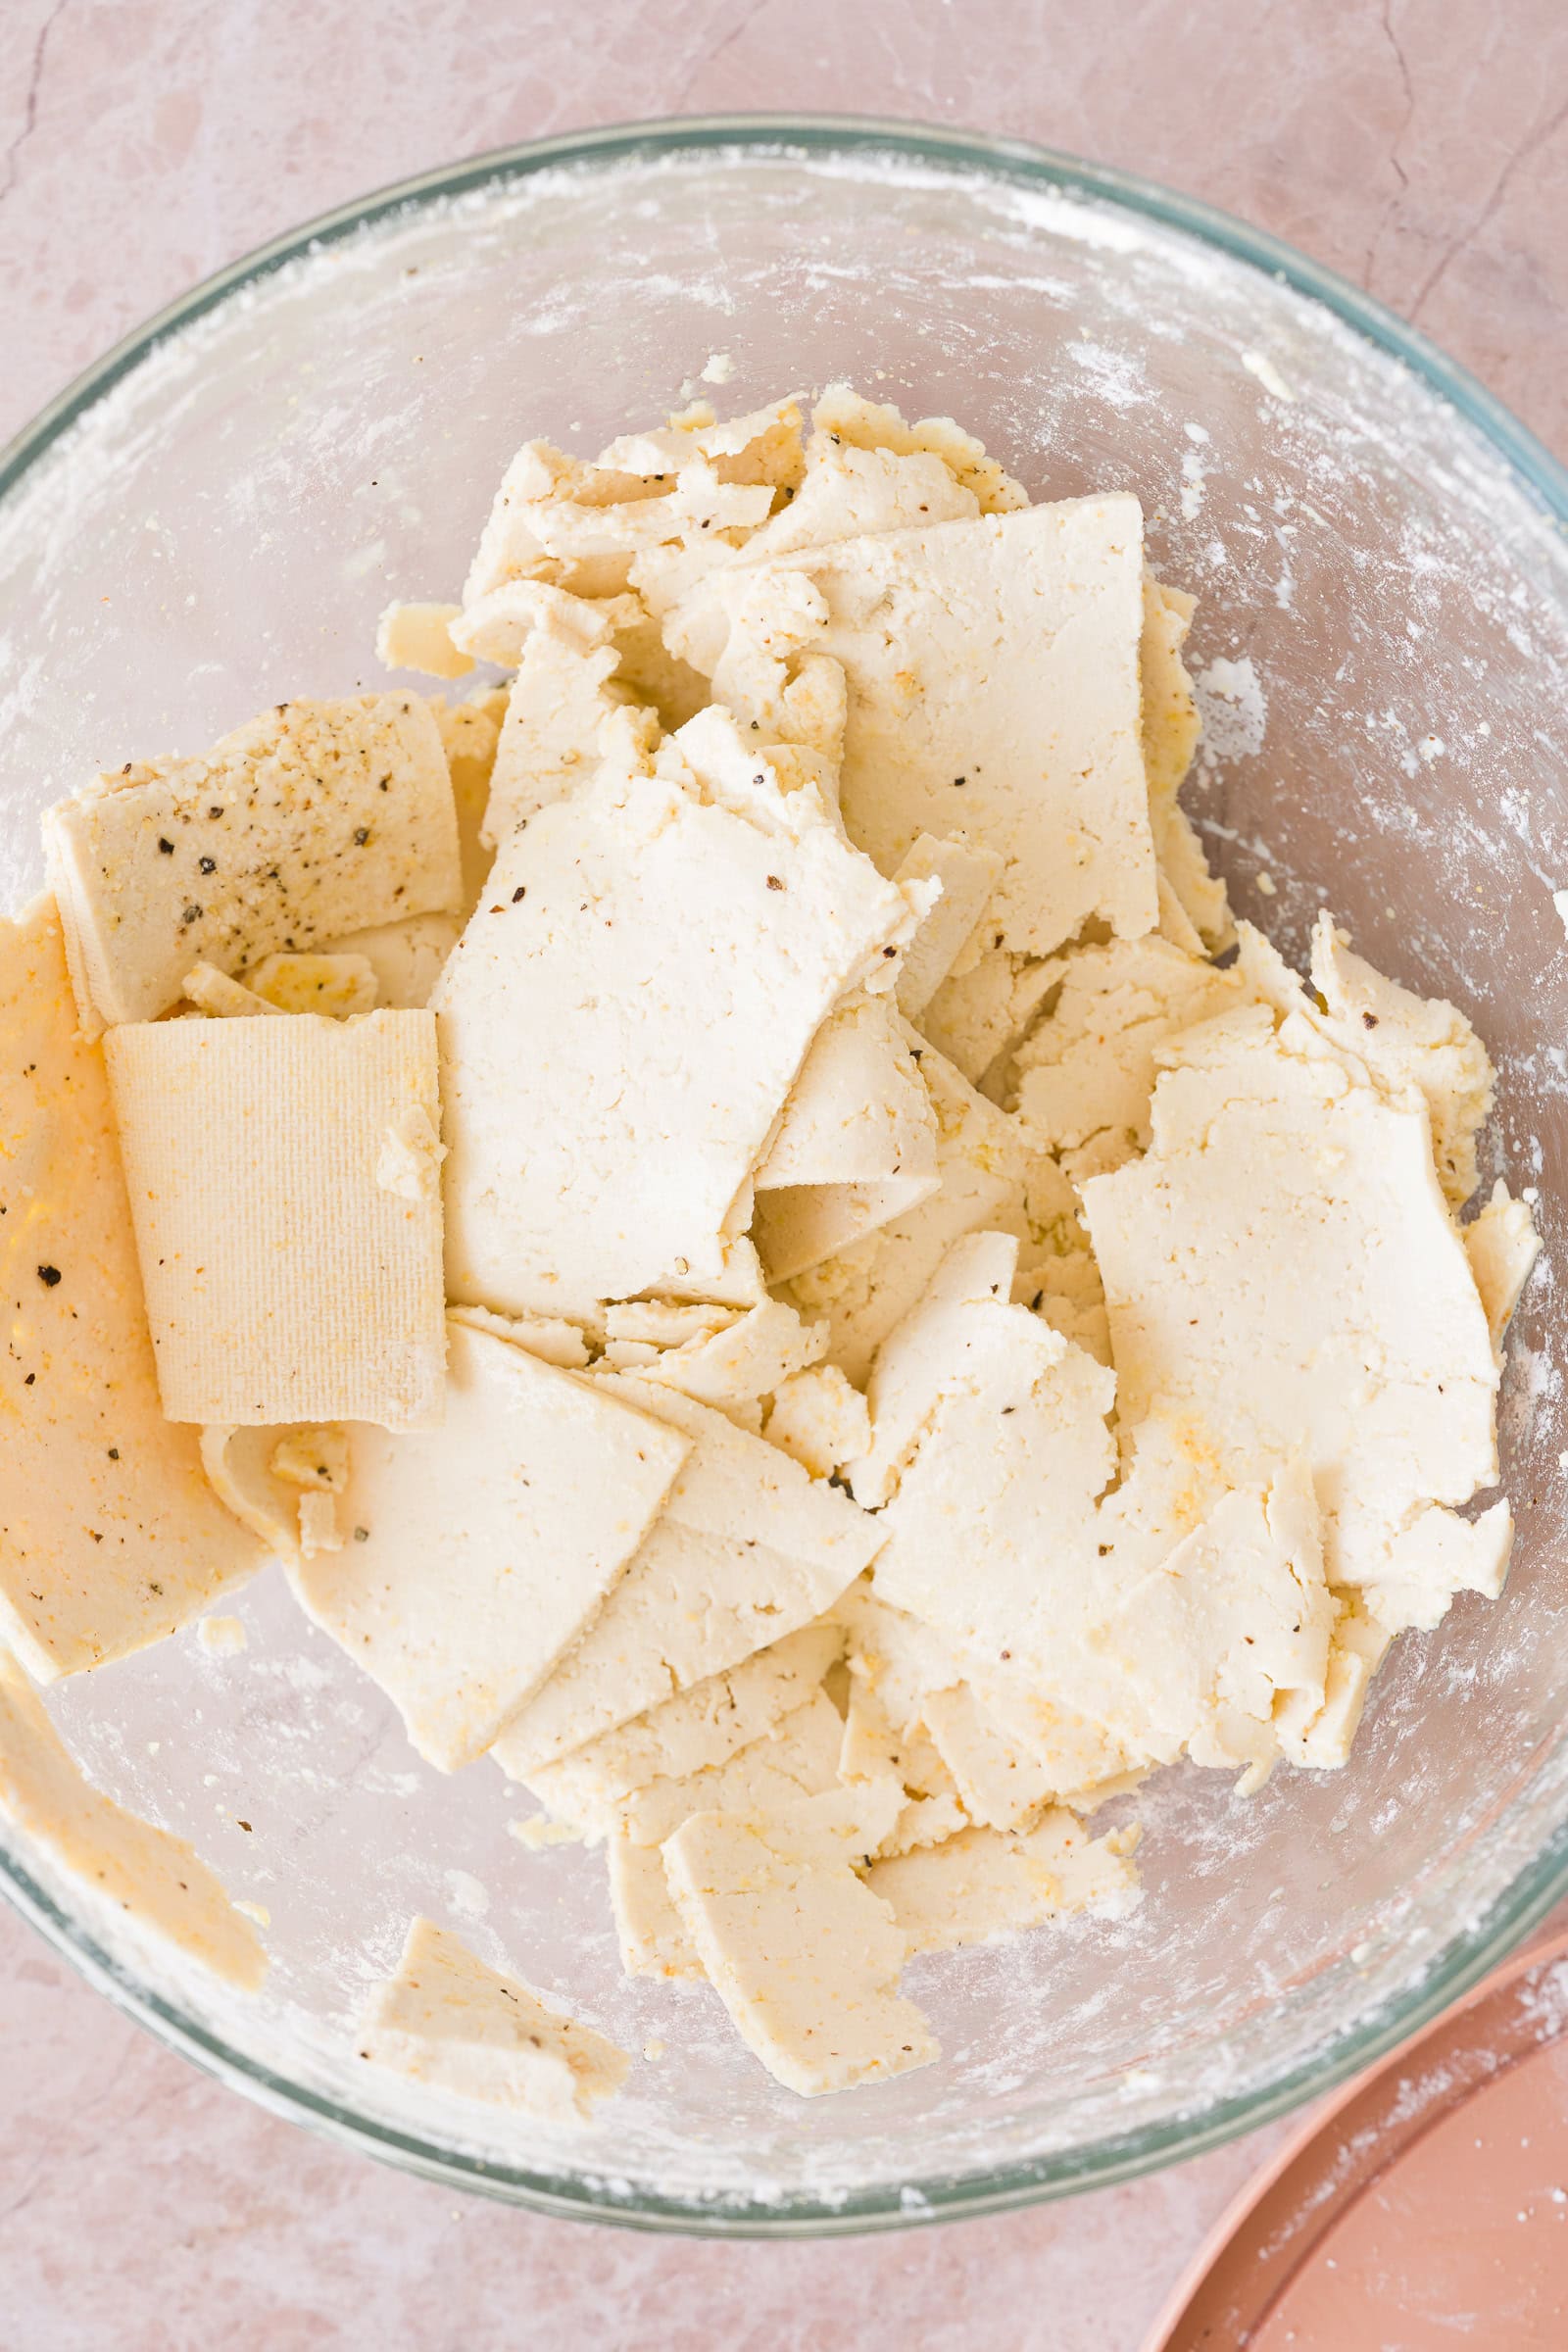
Step 1: Press the tofu and shave it into thin pieces using a mandoline or sharp knife. Toss with the cornstarch and seasonings until evenly coated.
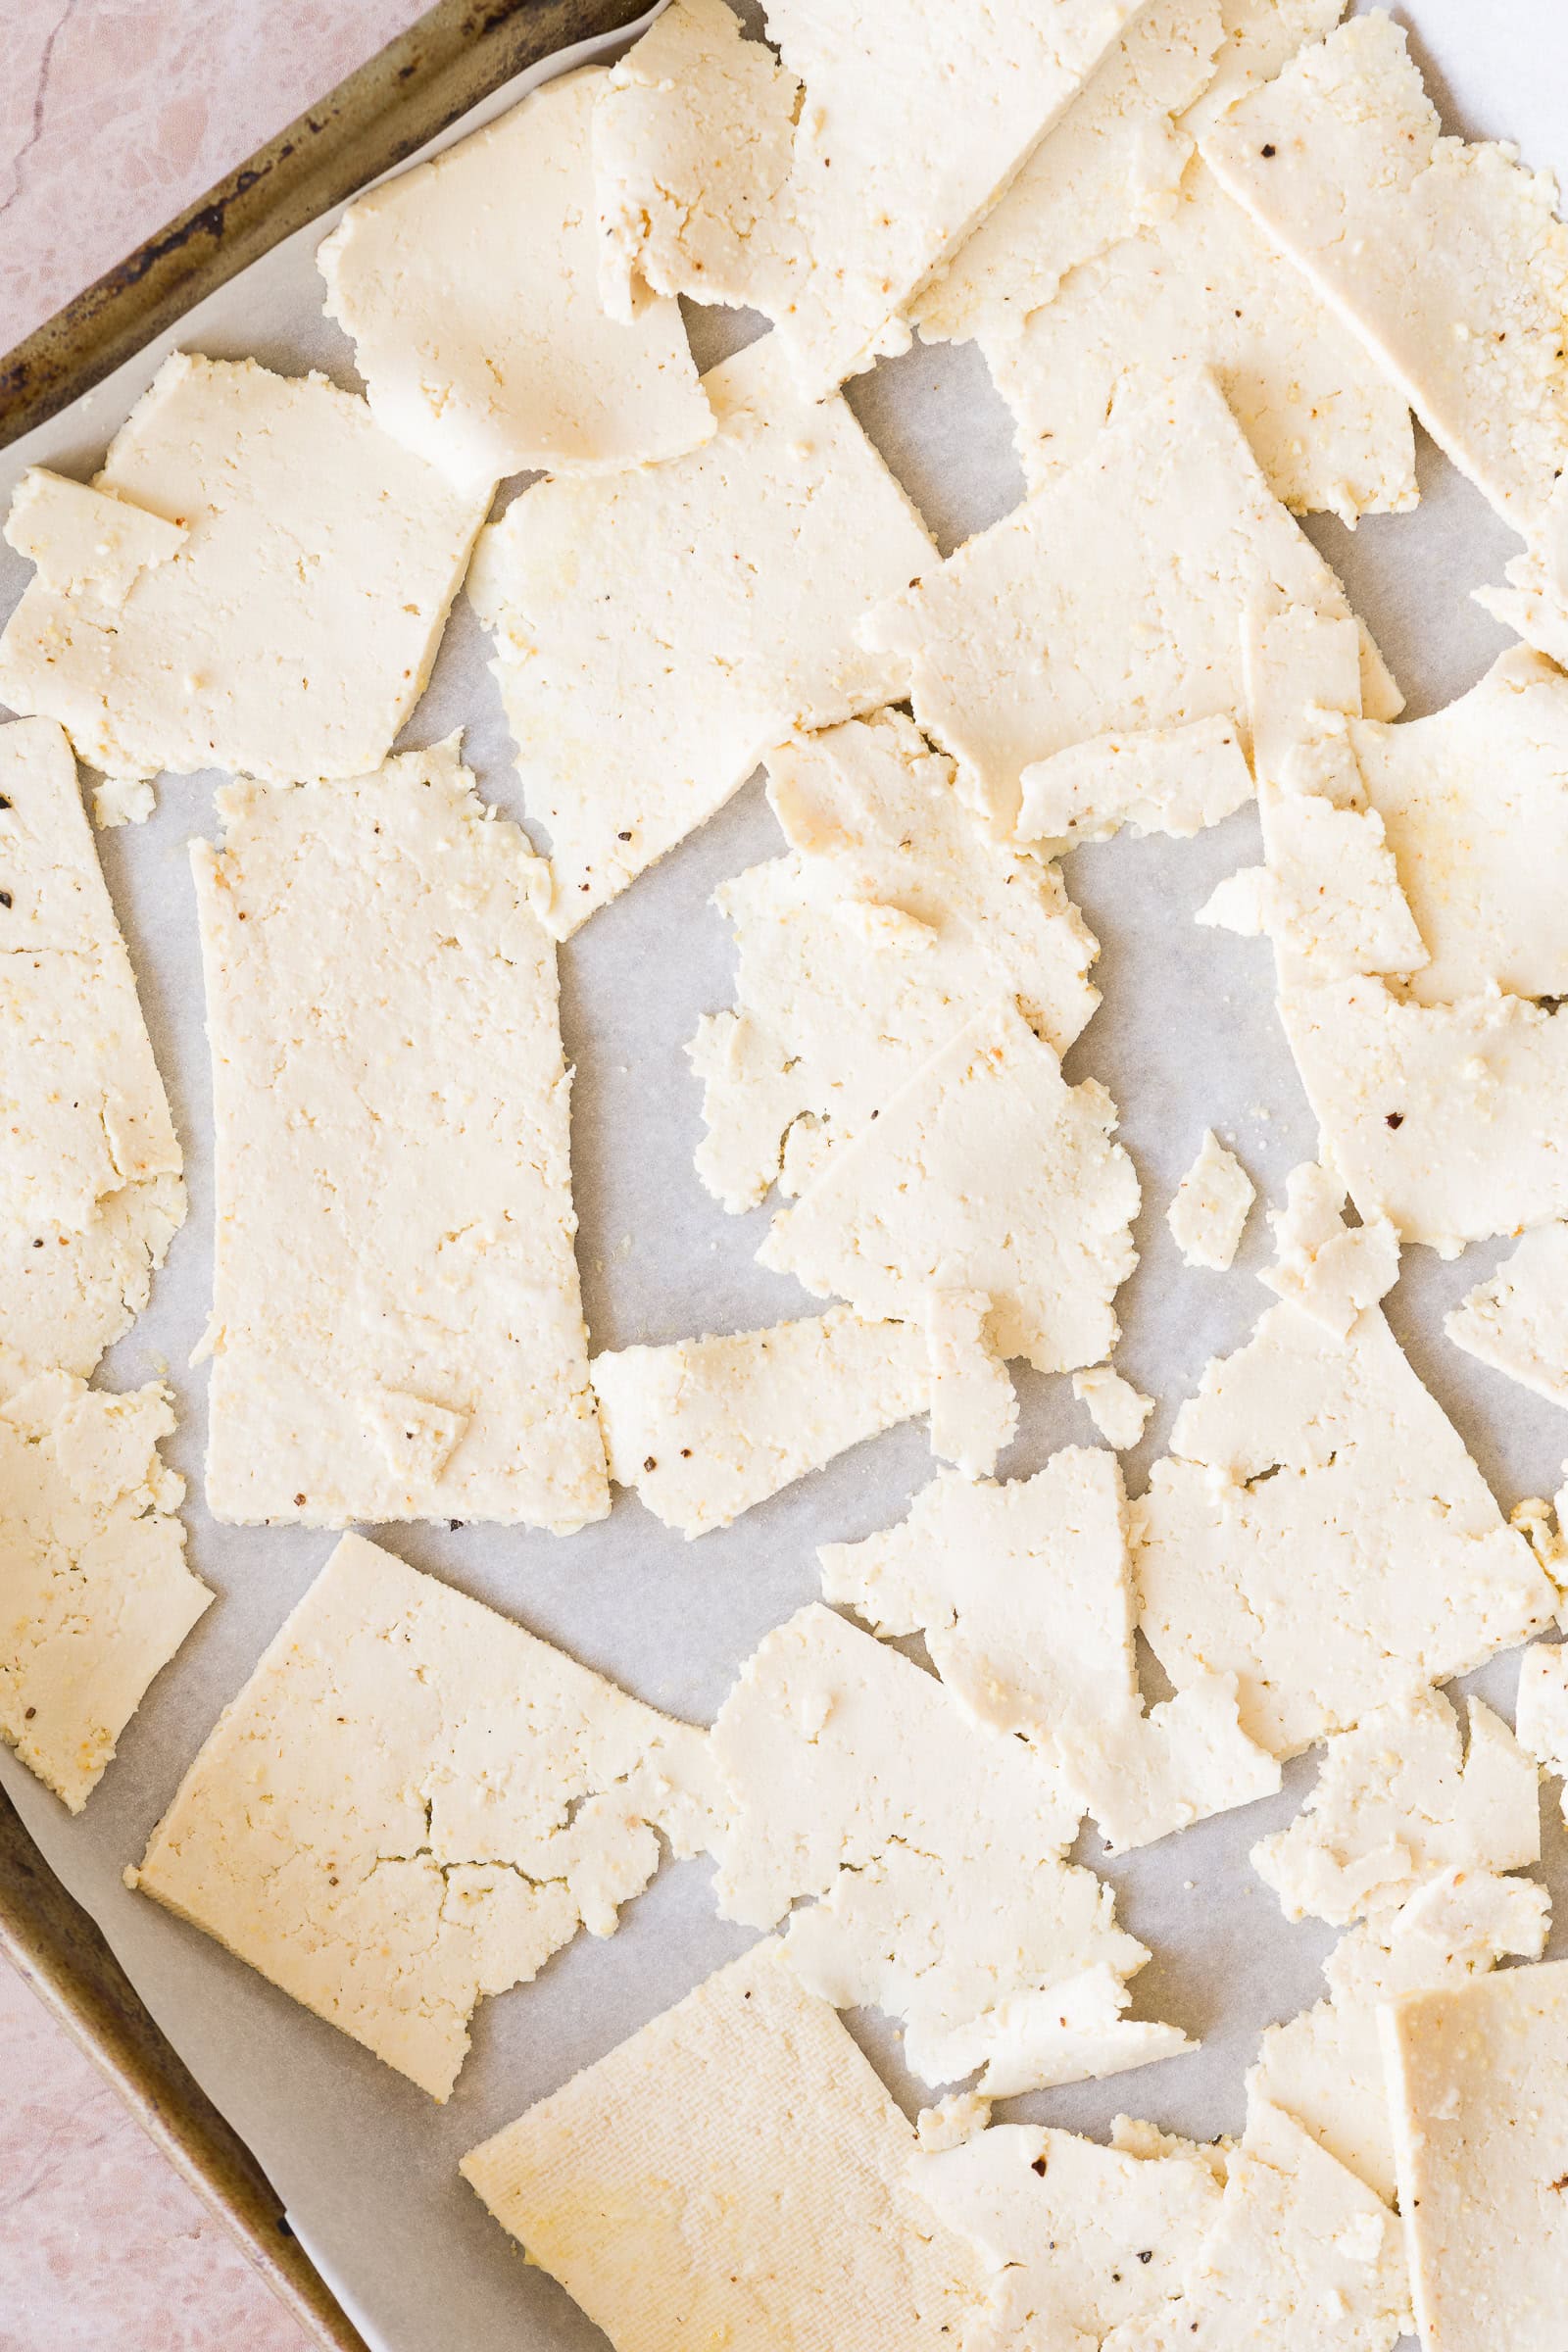
Step 2: Spread the tofu on a baking sheet being careful not to overlap.
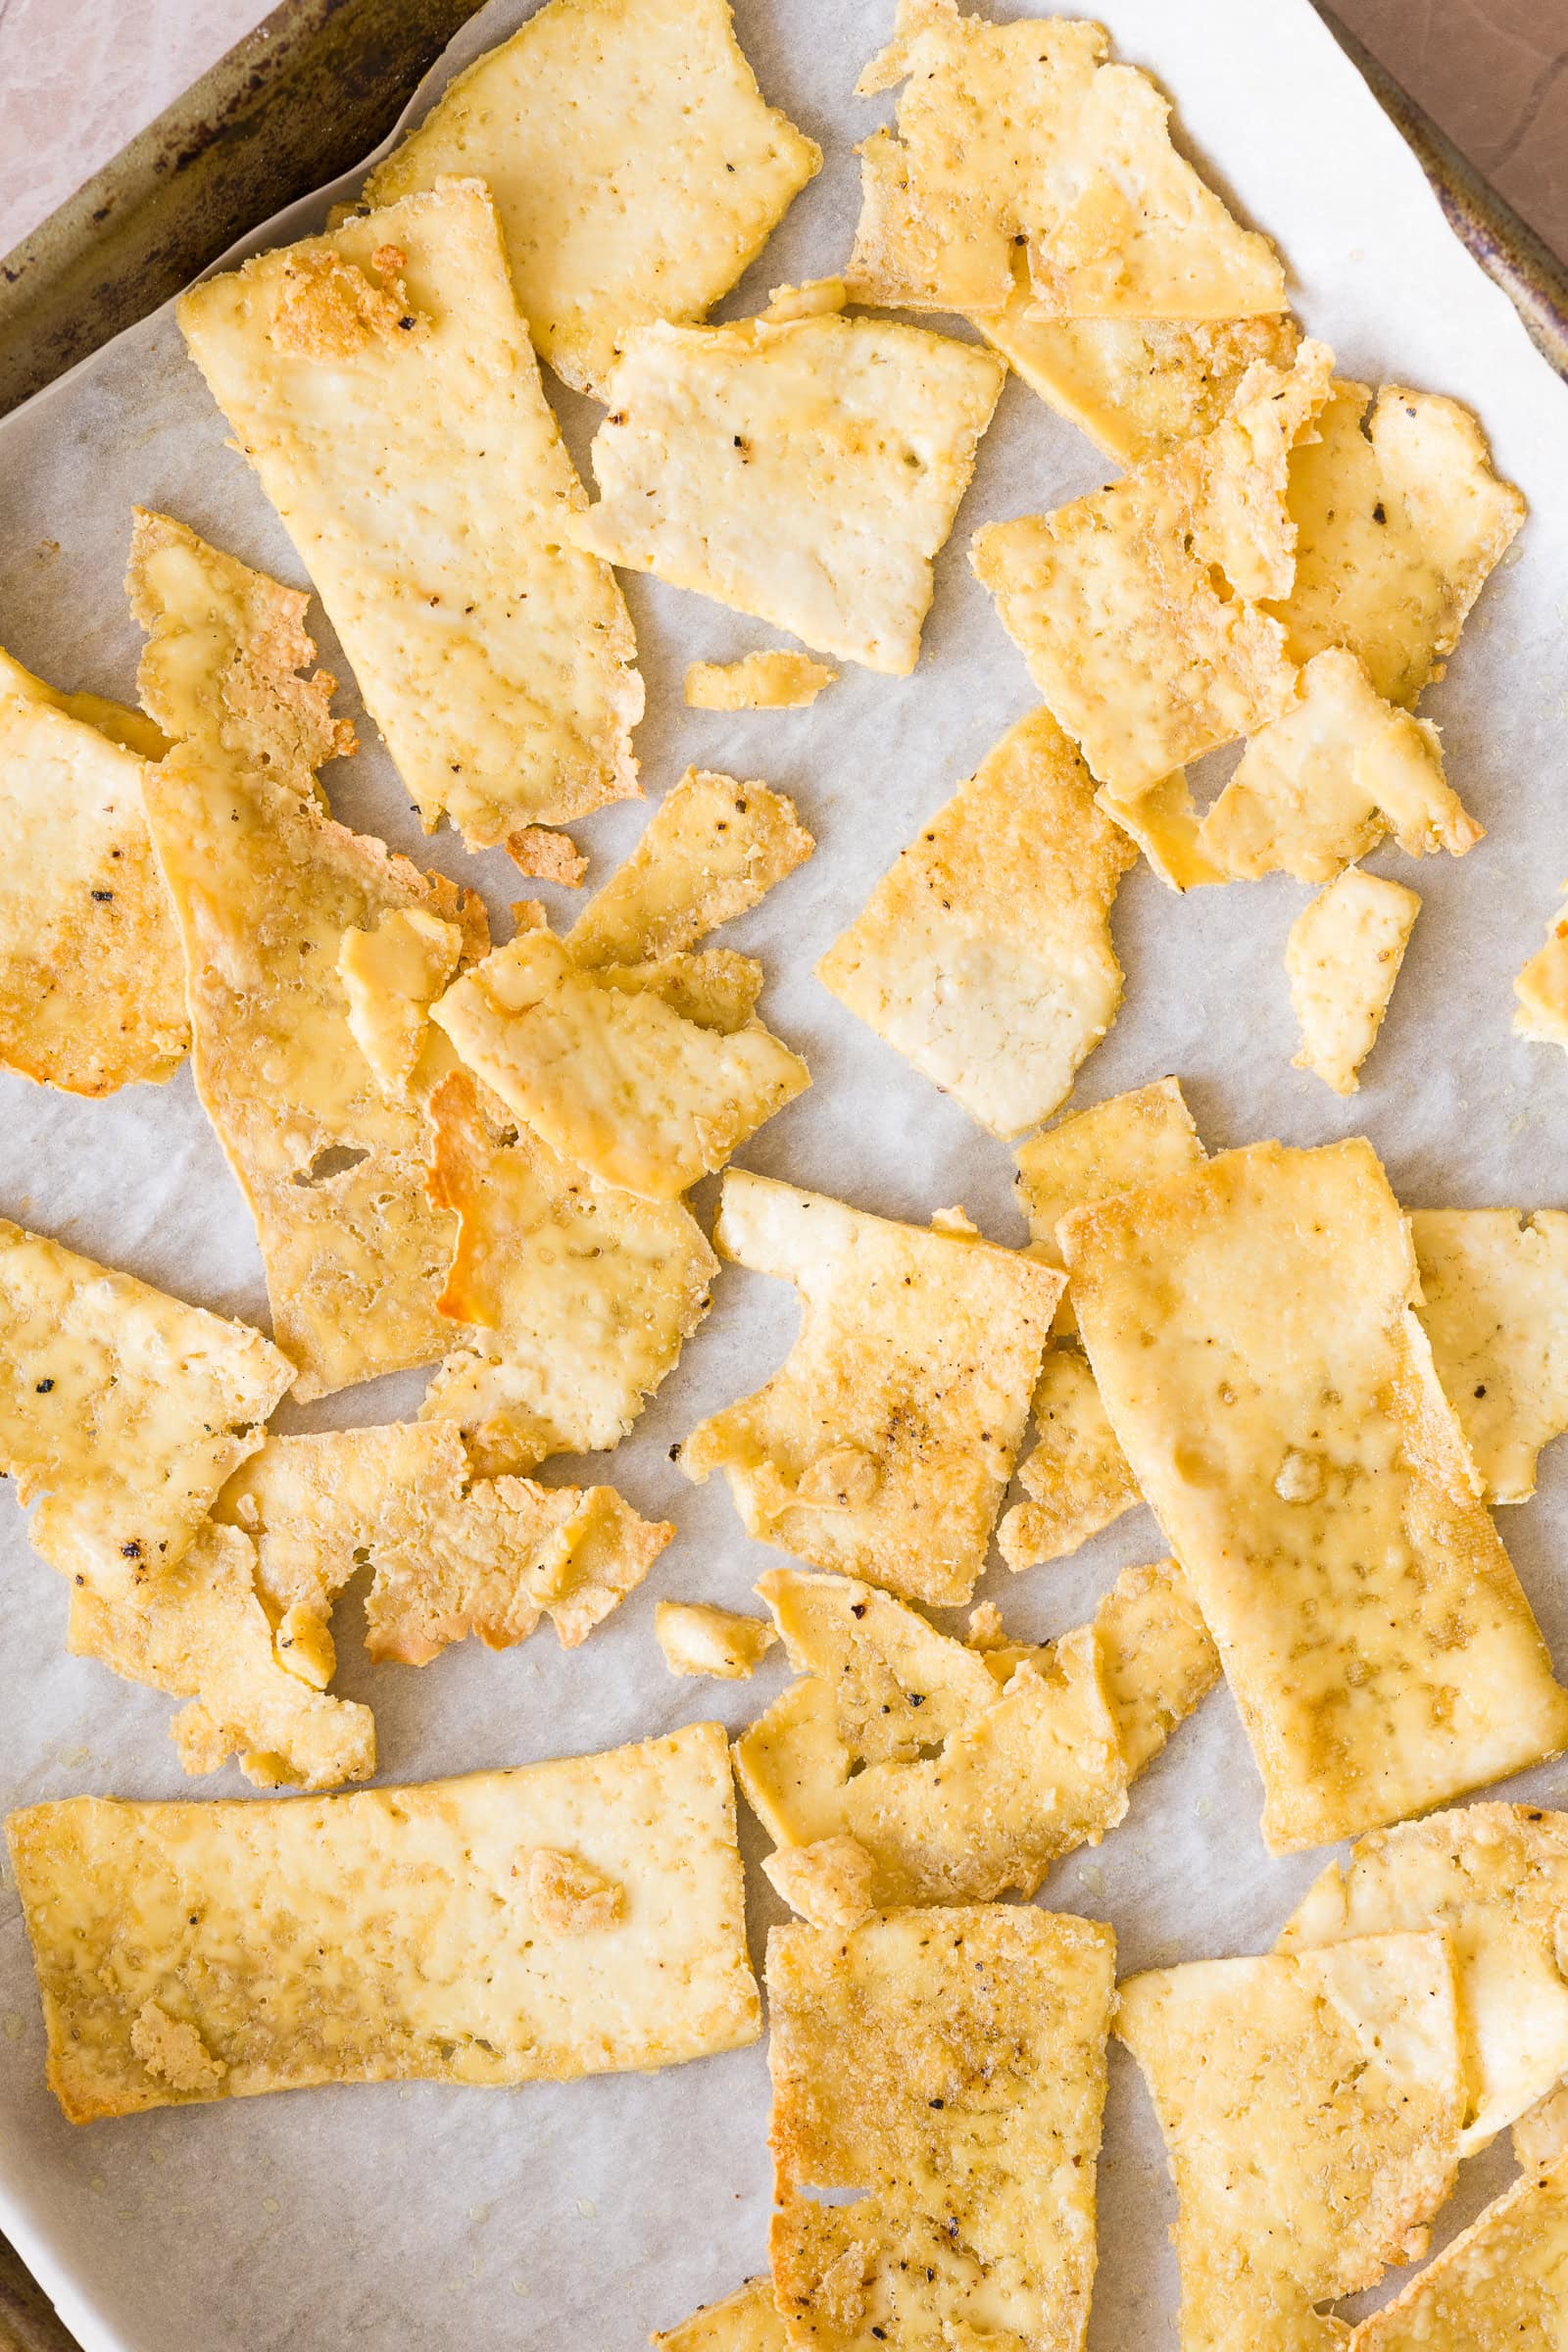
Step 3: Bake at 400°F for 18-20 minutes, or until browned and crisp.
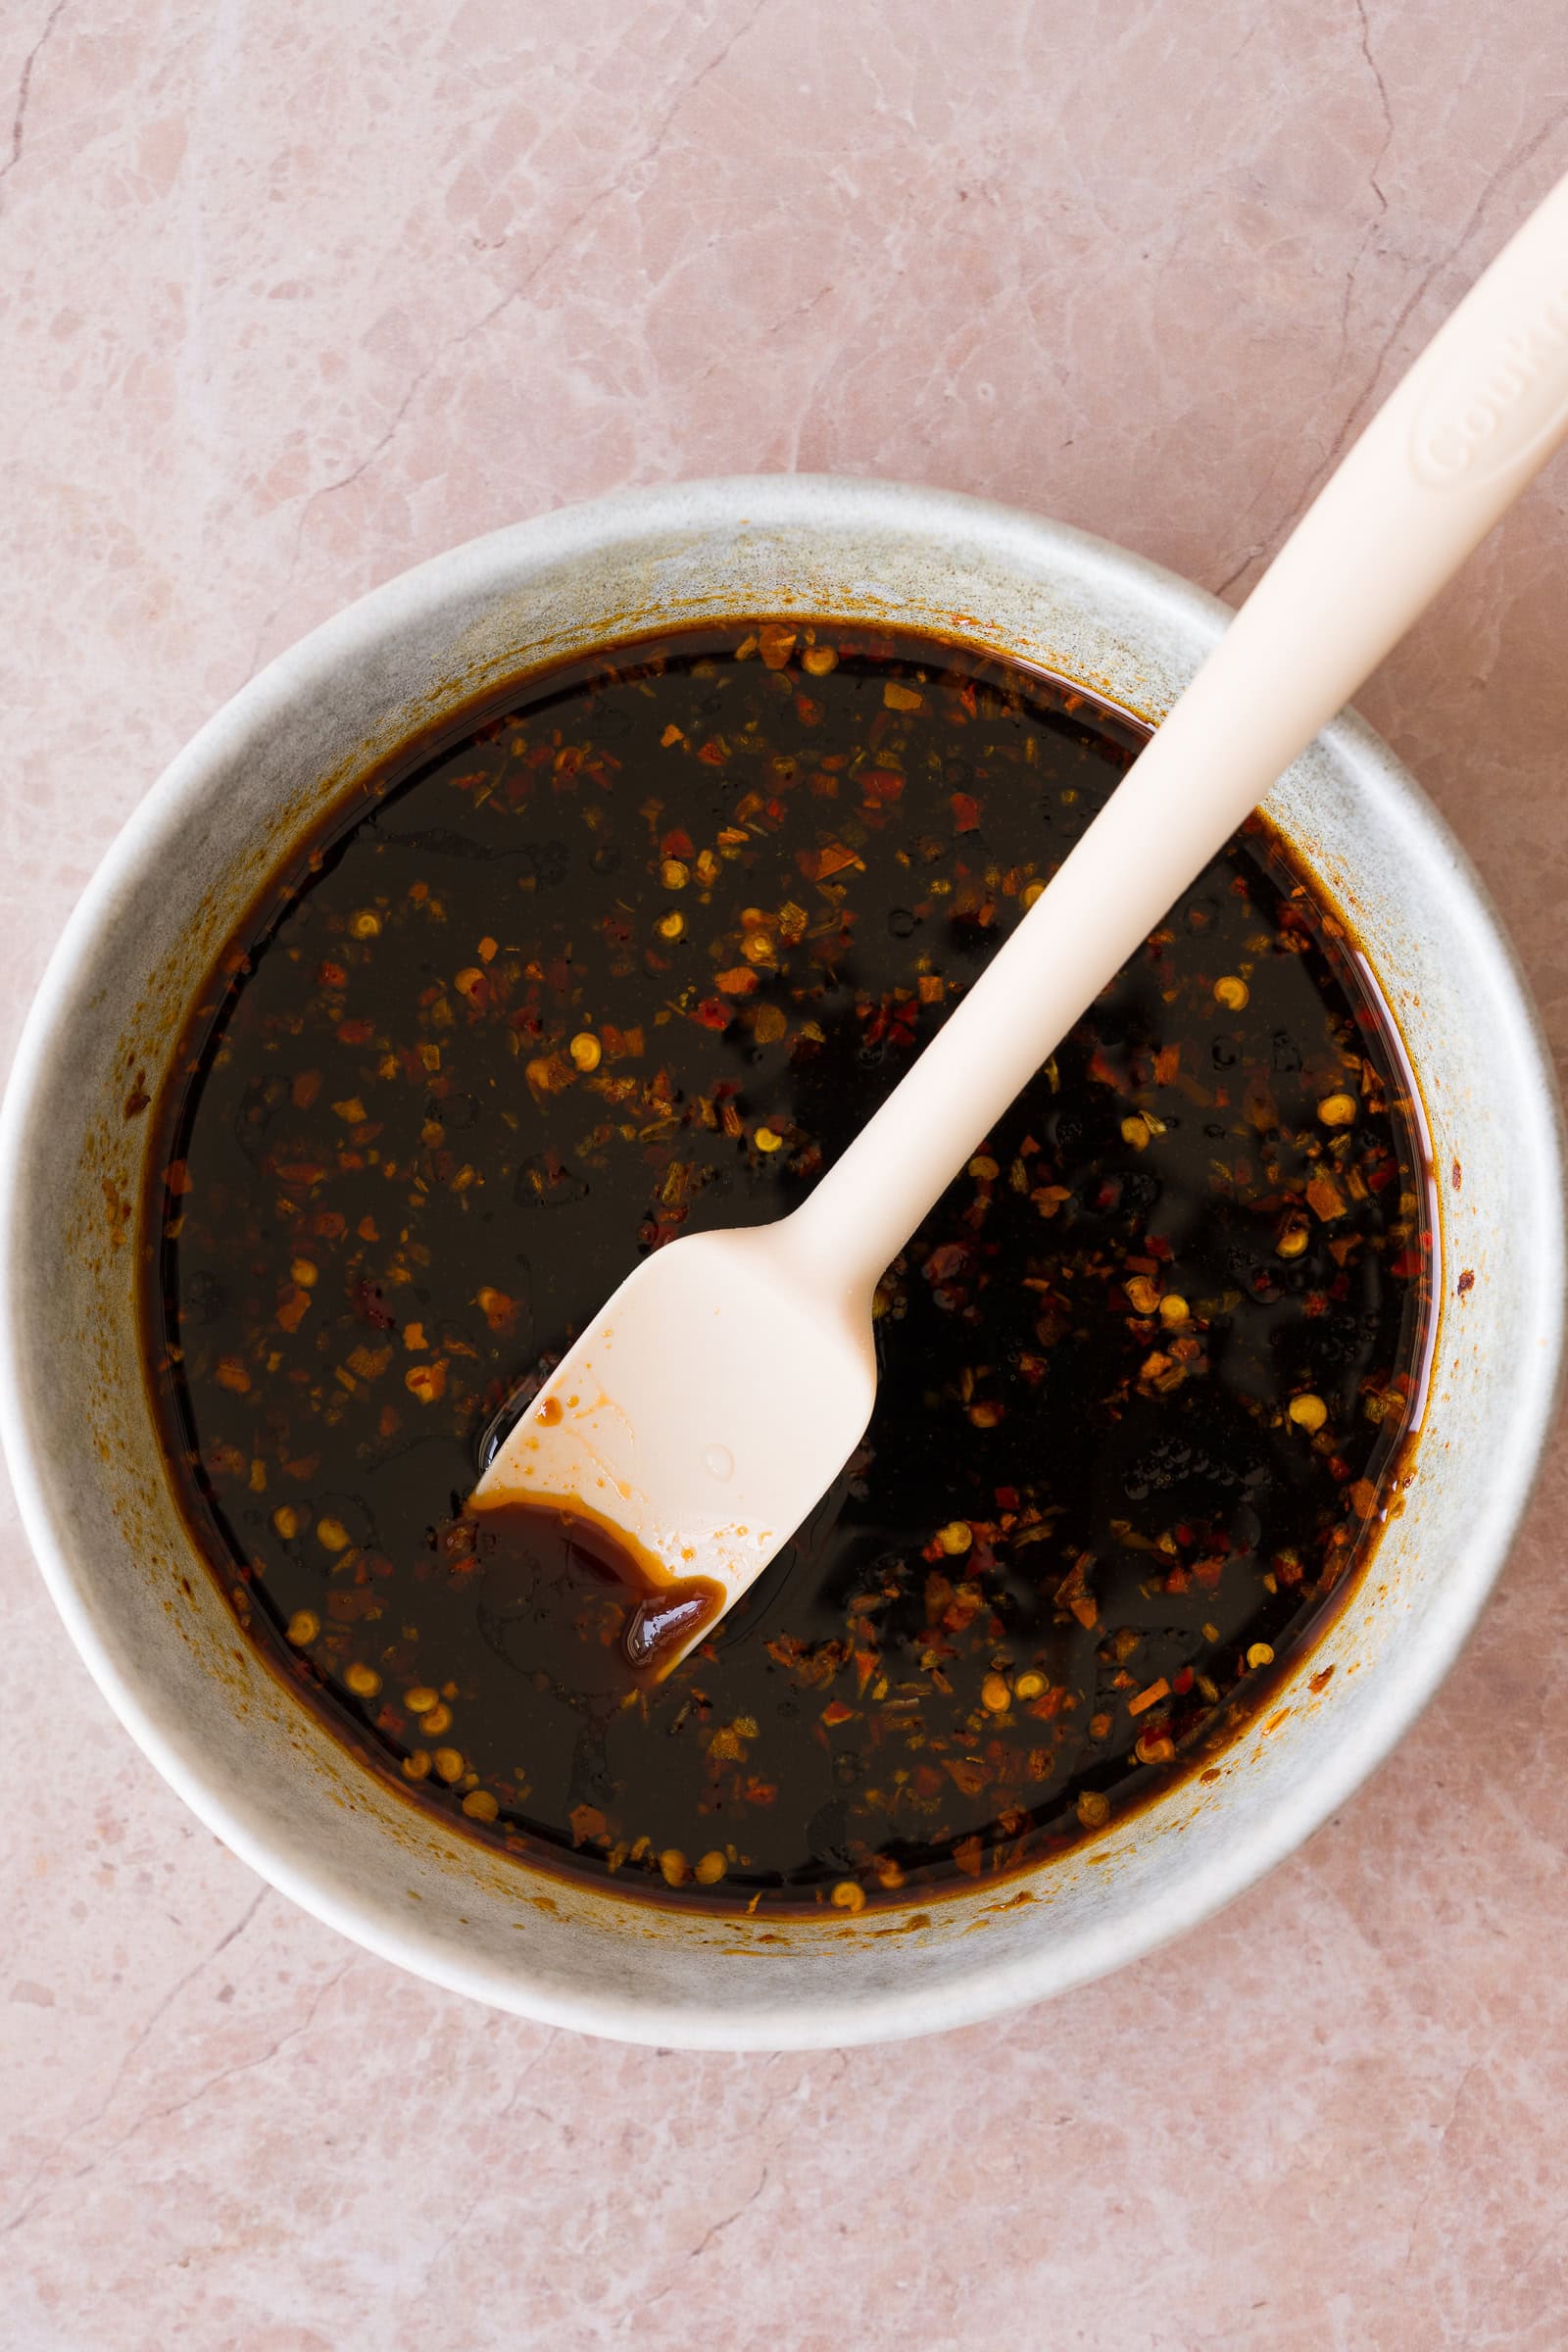
Step 4: While the tofu bakes, whisk together the sauce and cook the frozen udon according to the package directions.
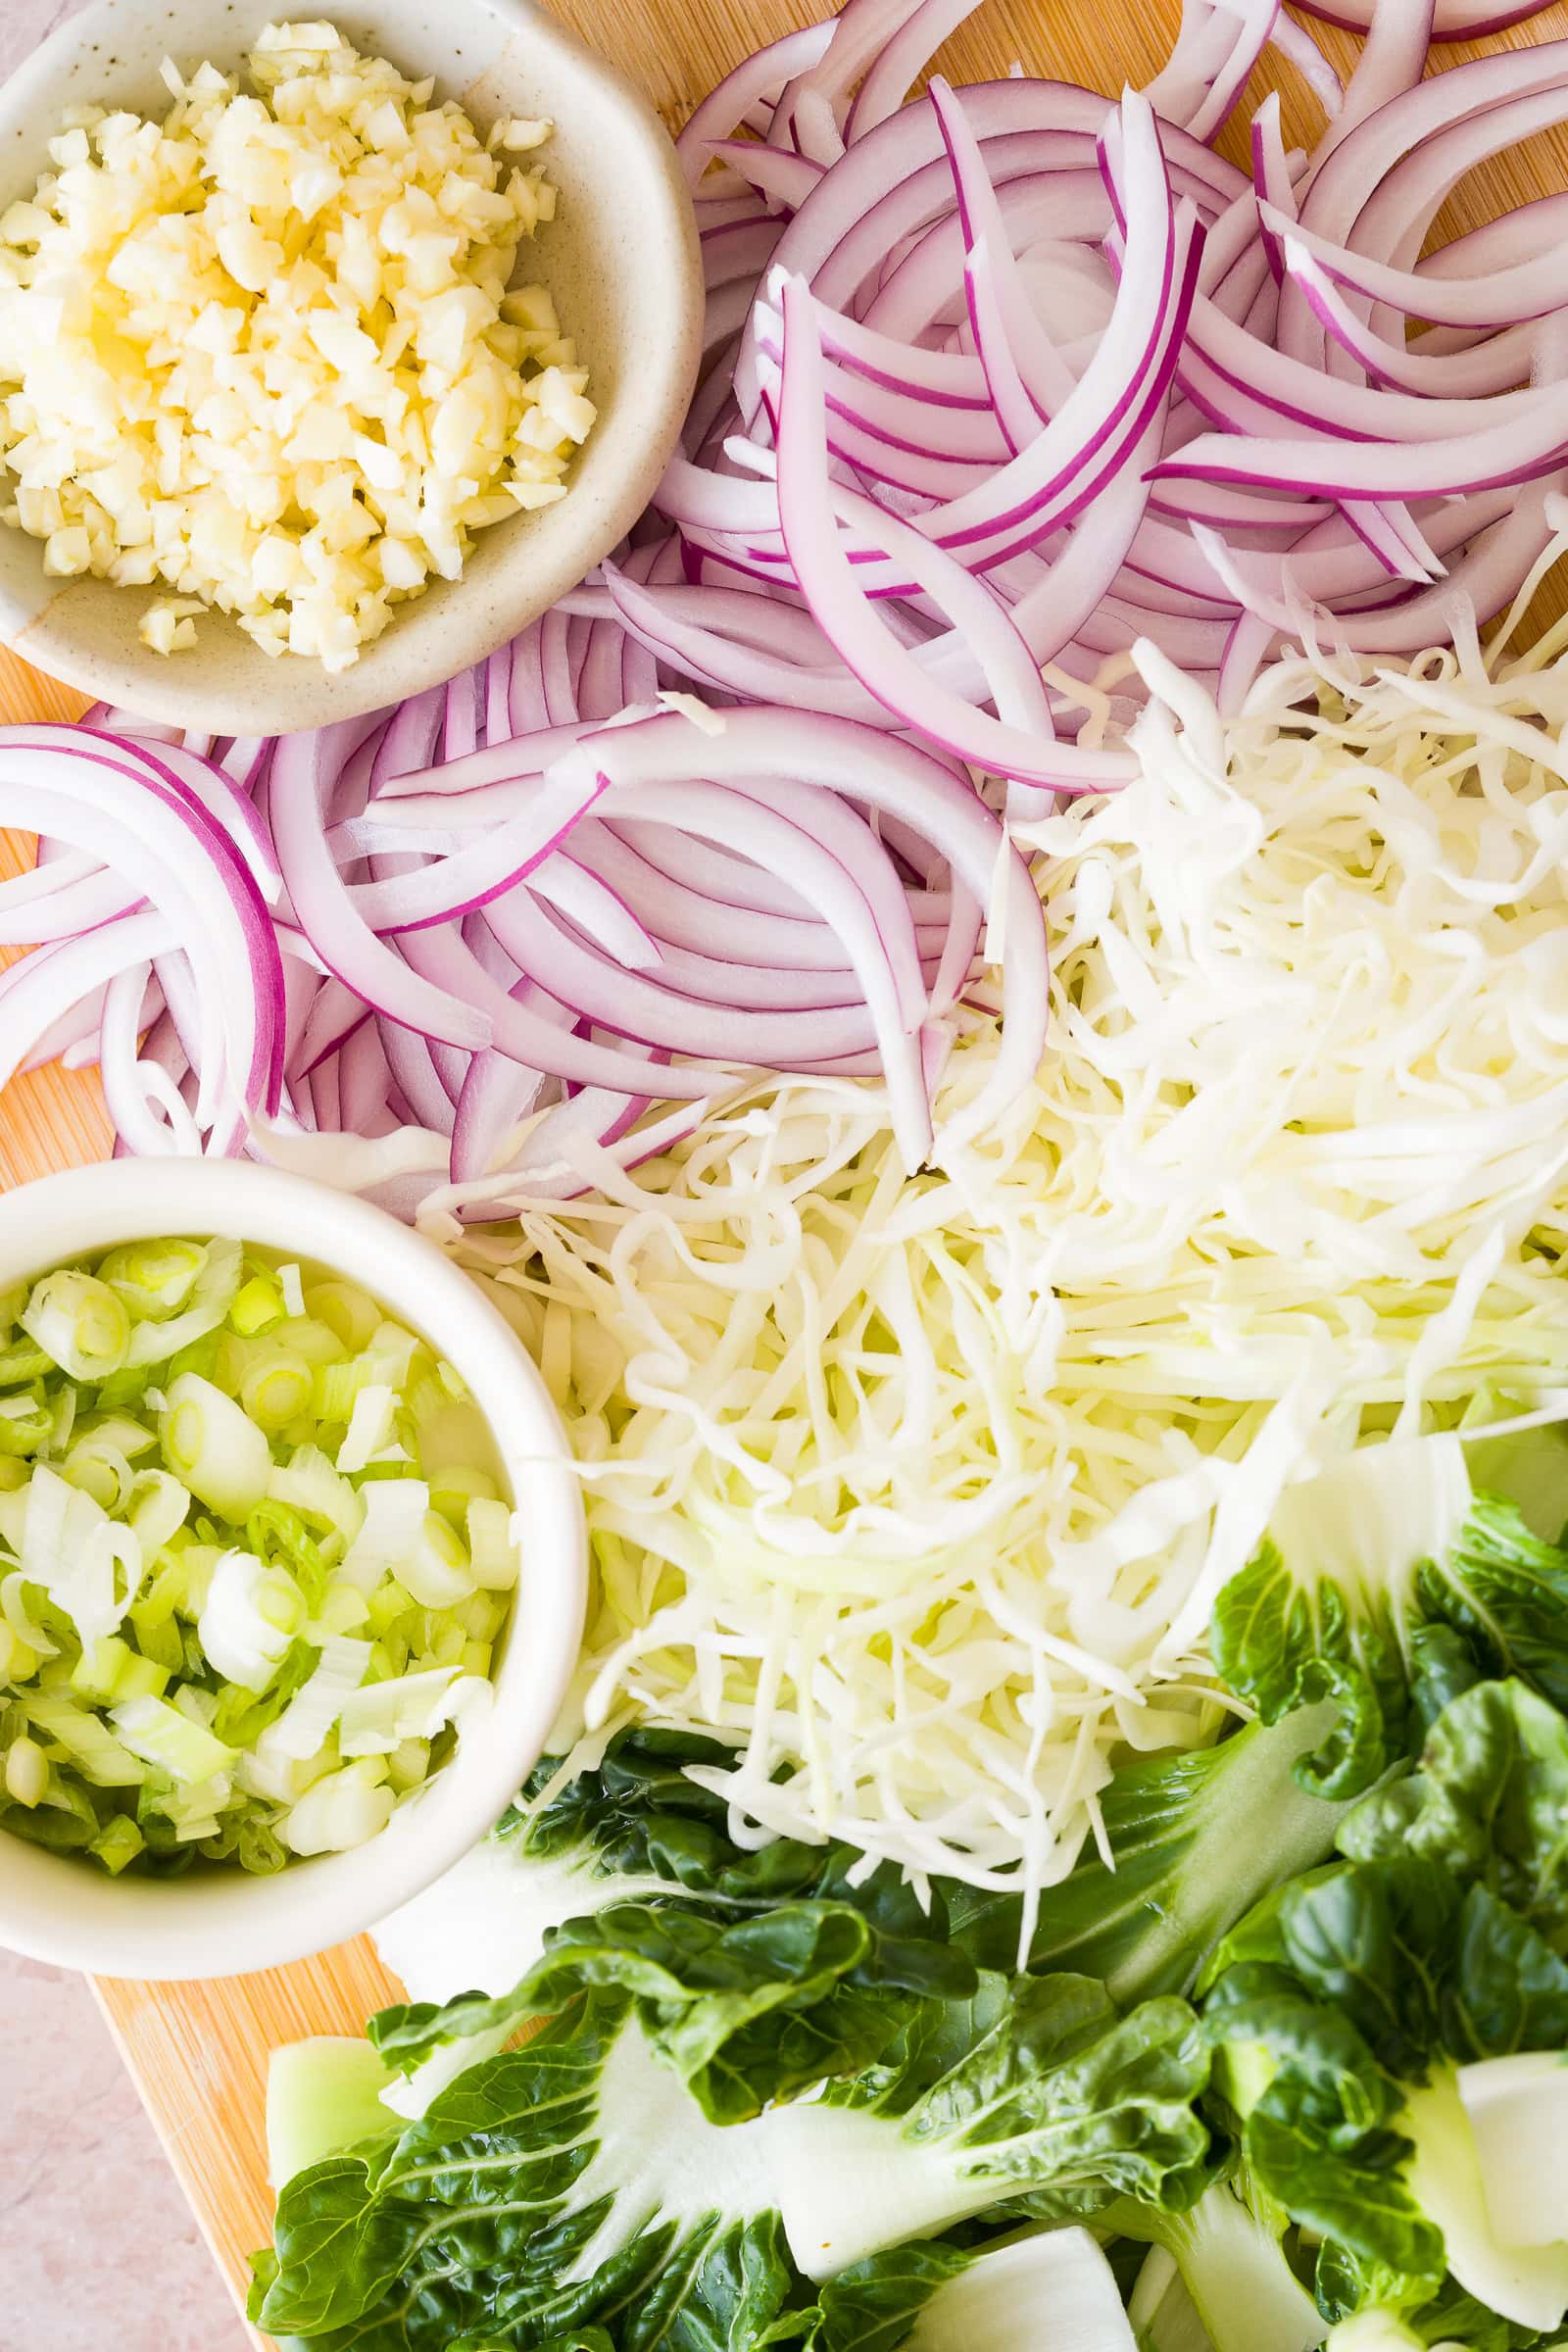
Step 5: Chop and prepare the vegetables.
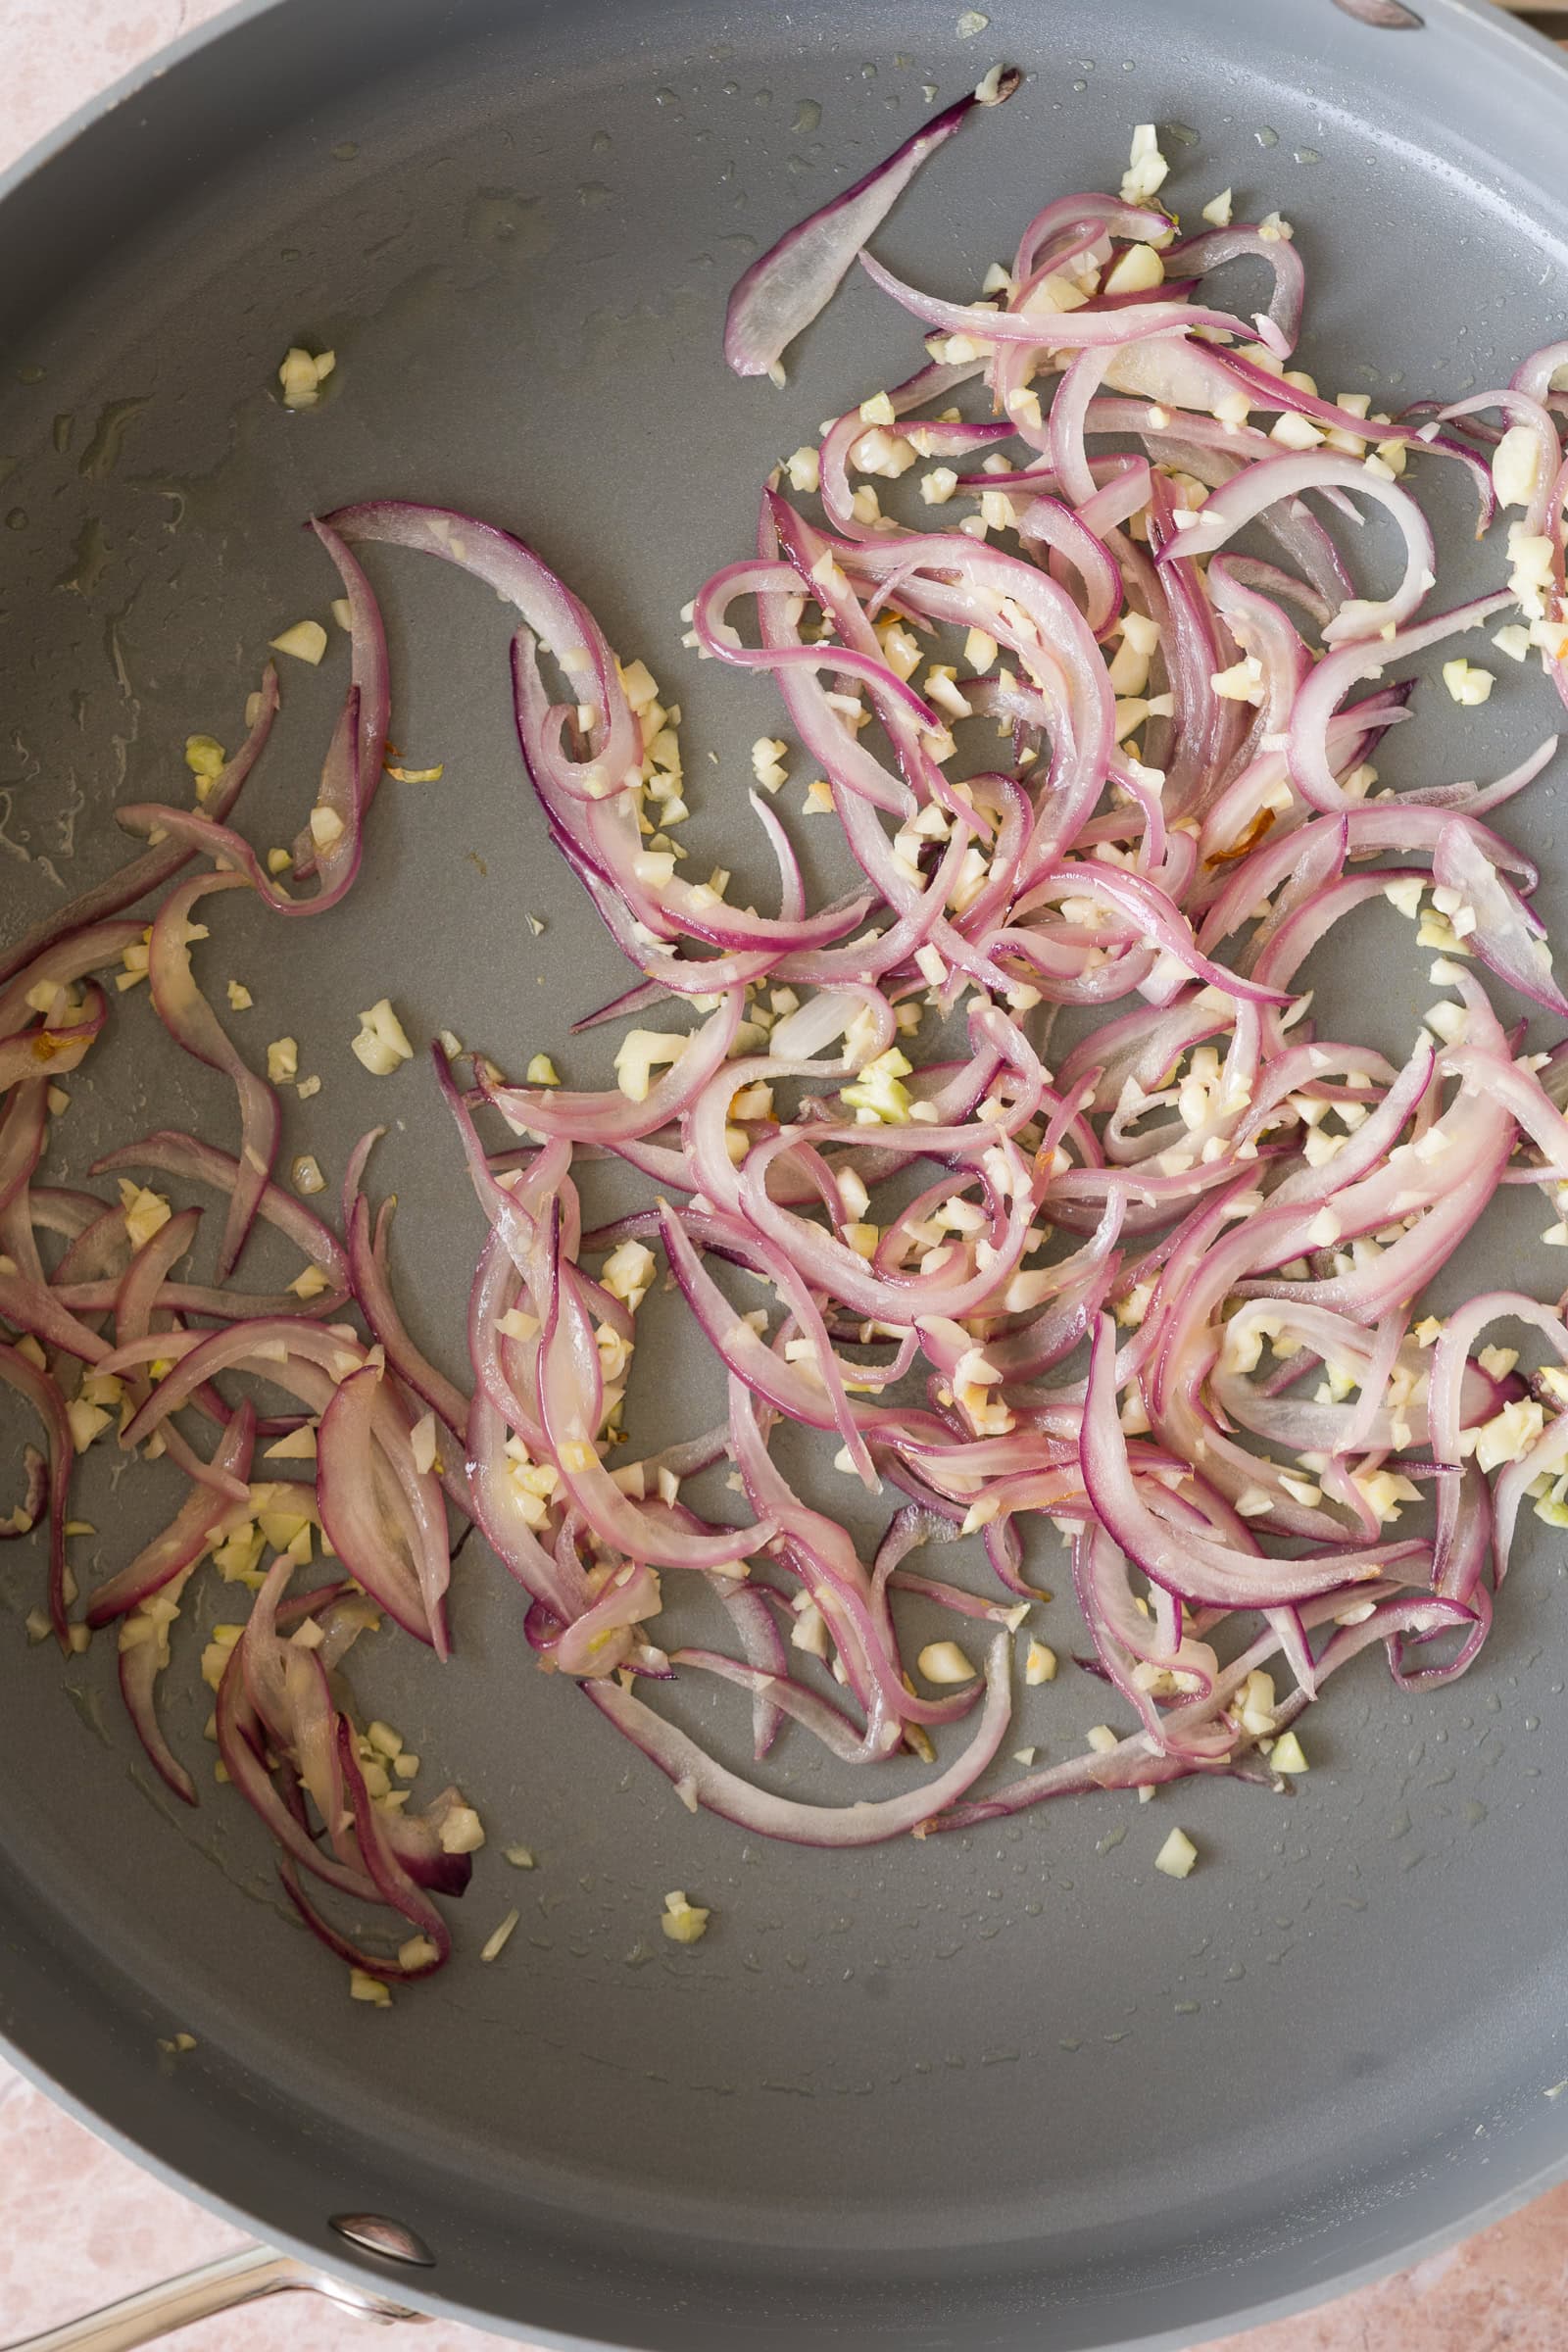
Step 6: Sauté the red onion and garlic until fragrant.
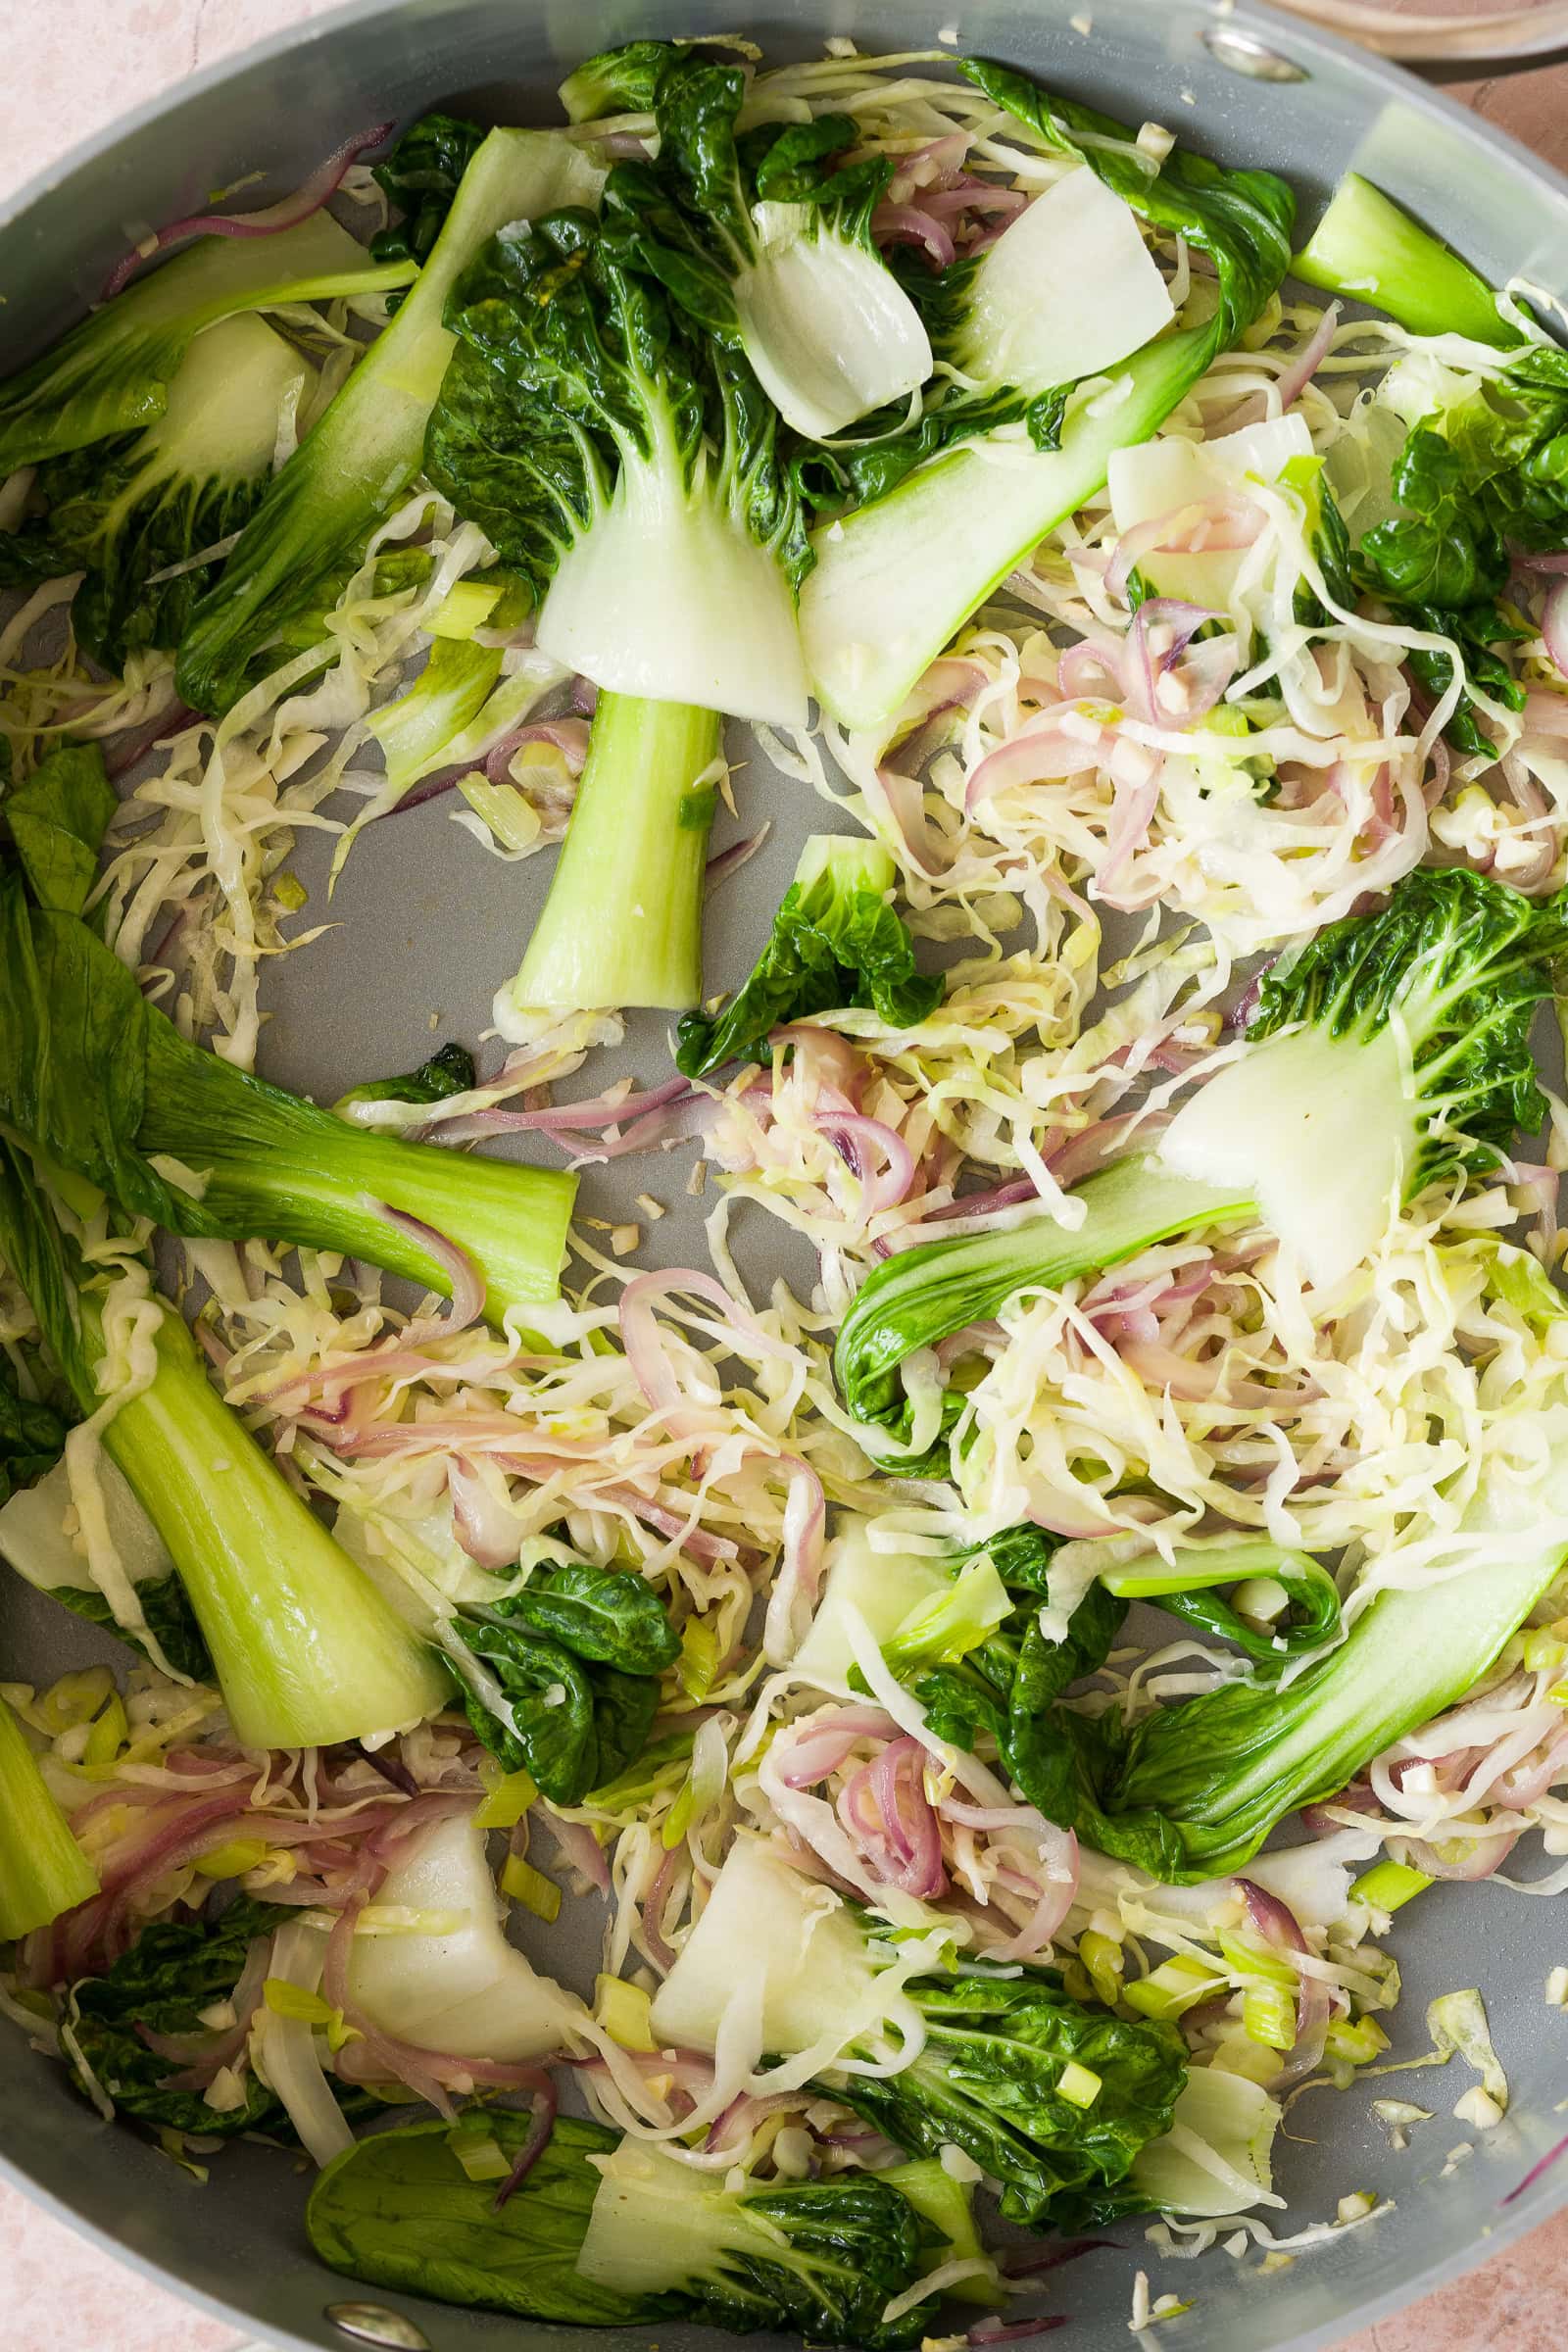
Step 7: Then add the cabbage, bok choy, and white parts of the green onions. Cook until softened but still slightly crisp.
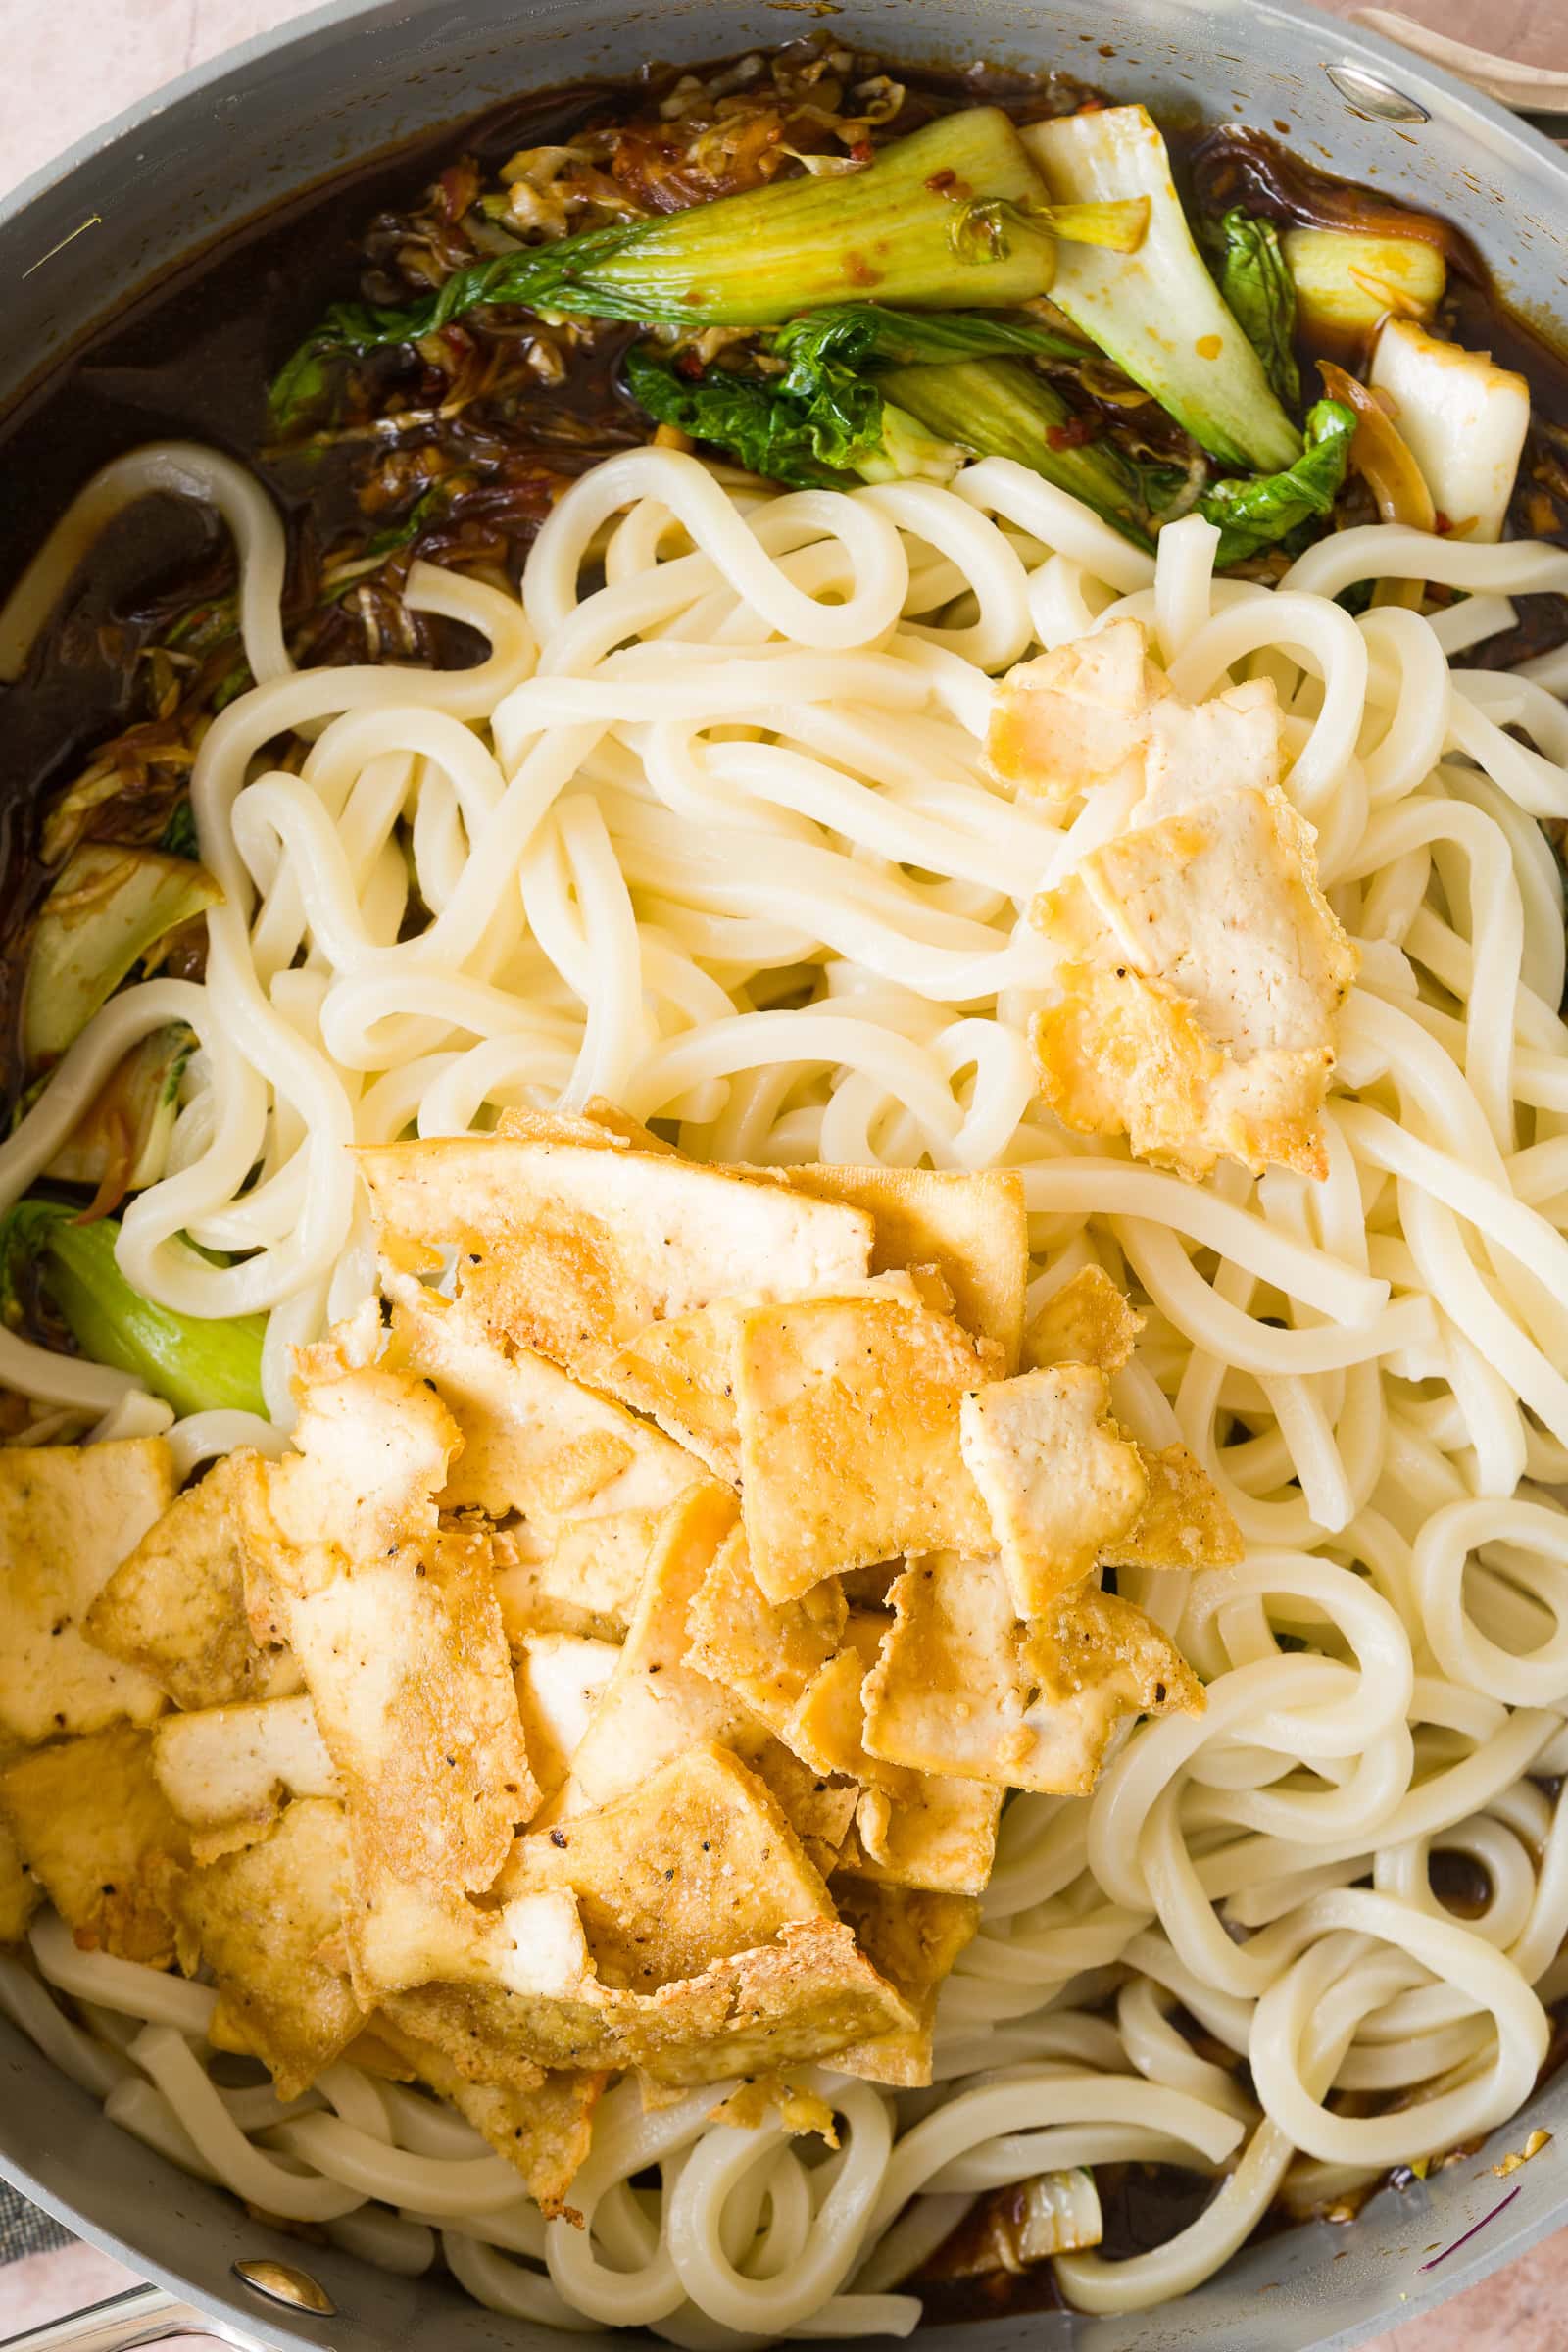
Step 8: Pour in the sauce and cook briefly until it starts to thicken. Add the cooked udon and crispy tofu.
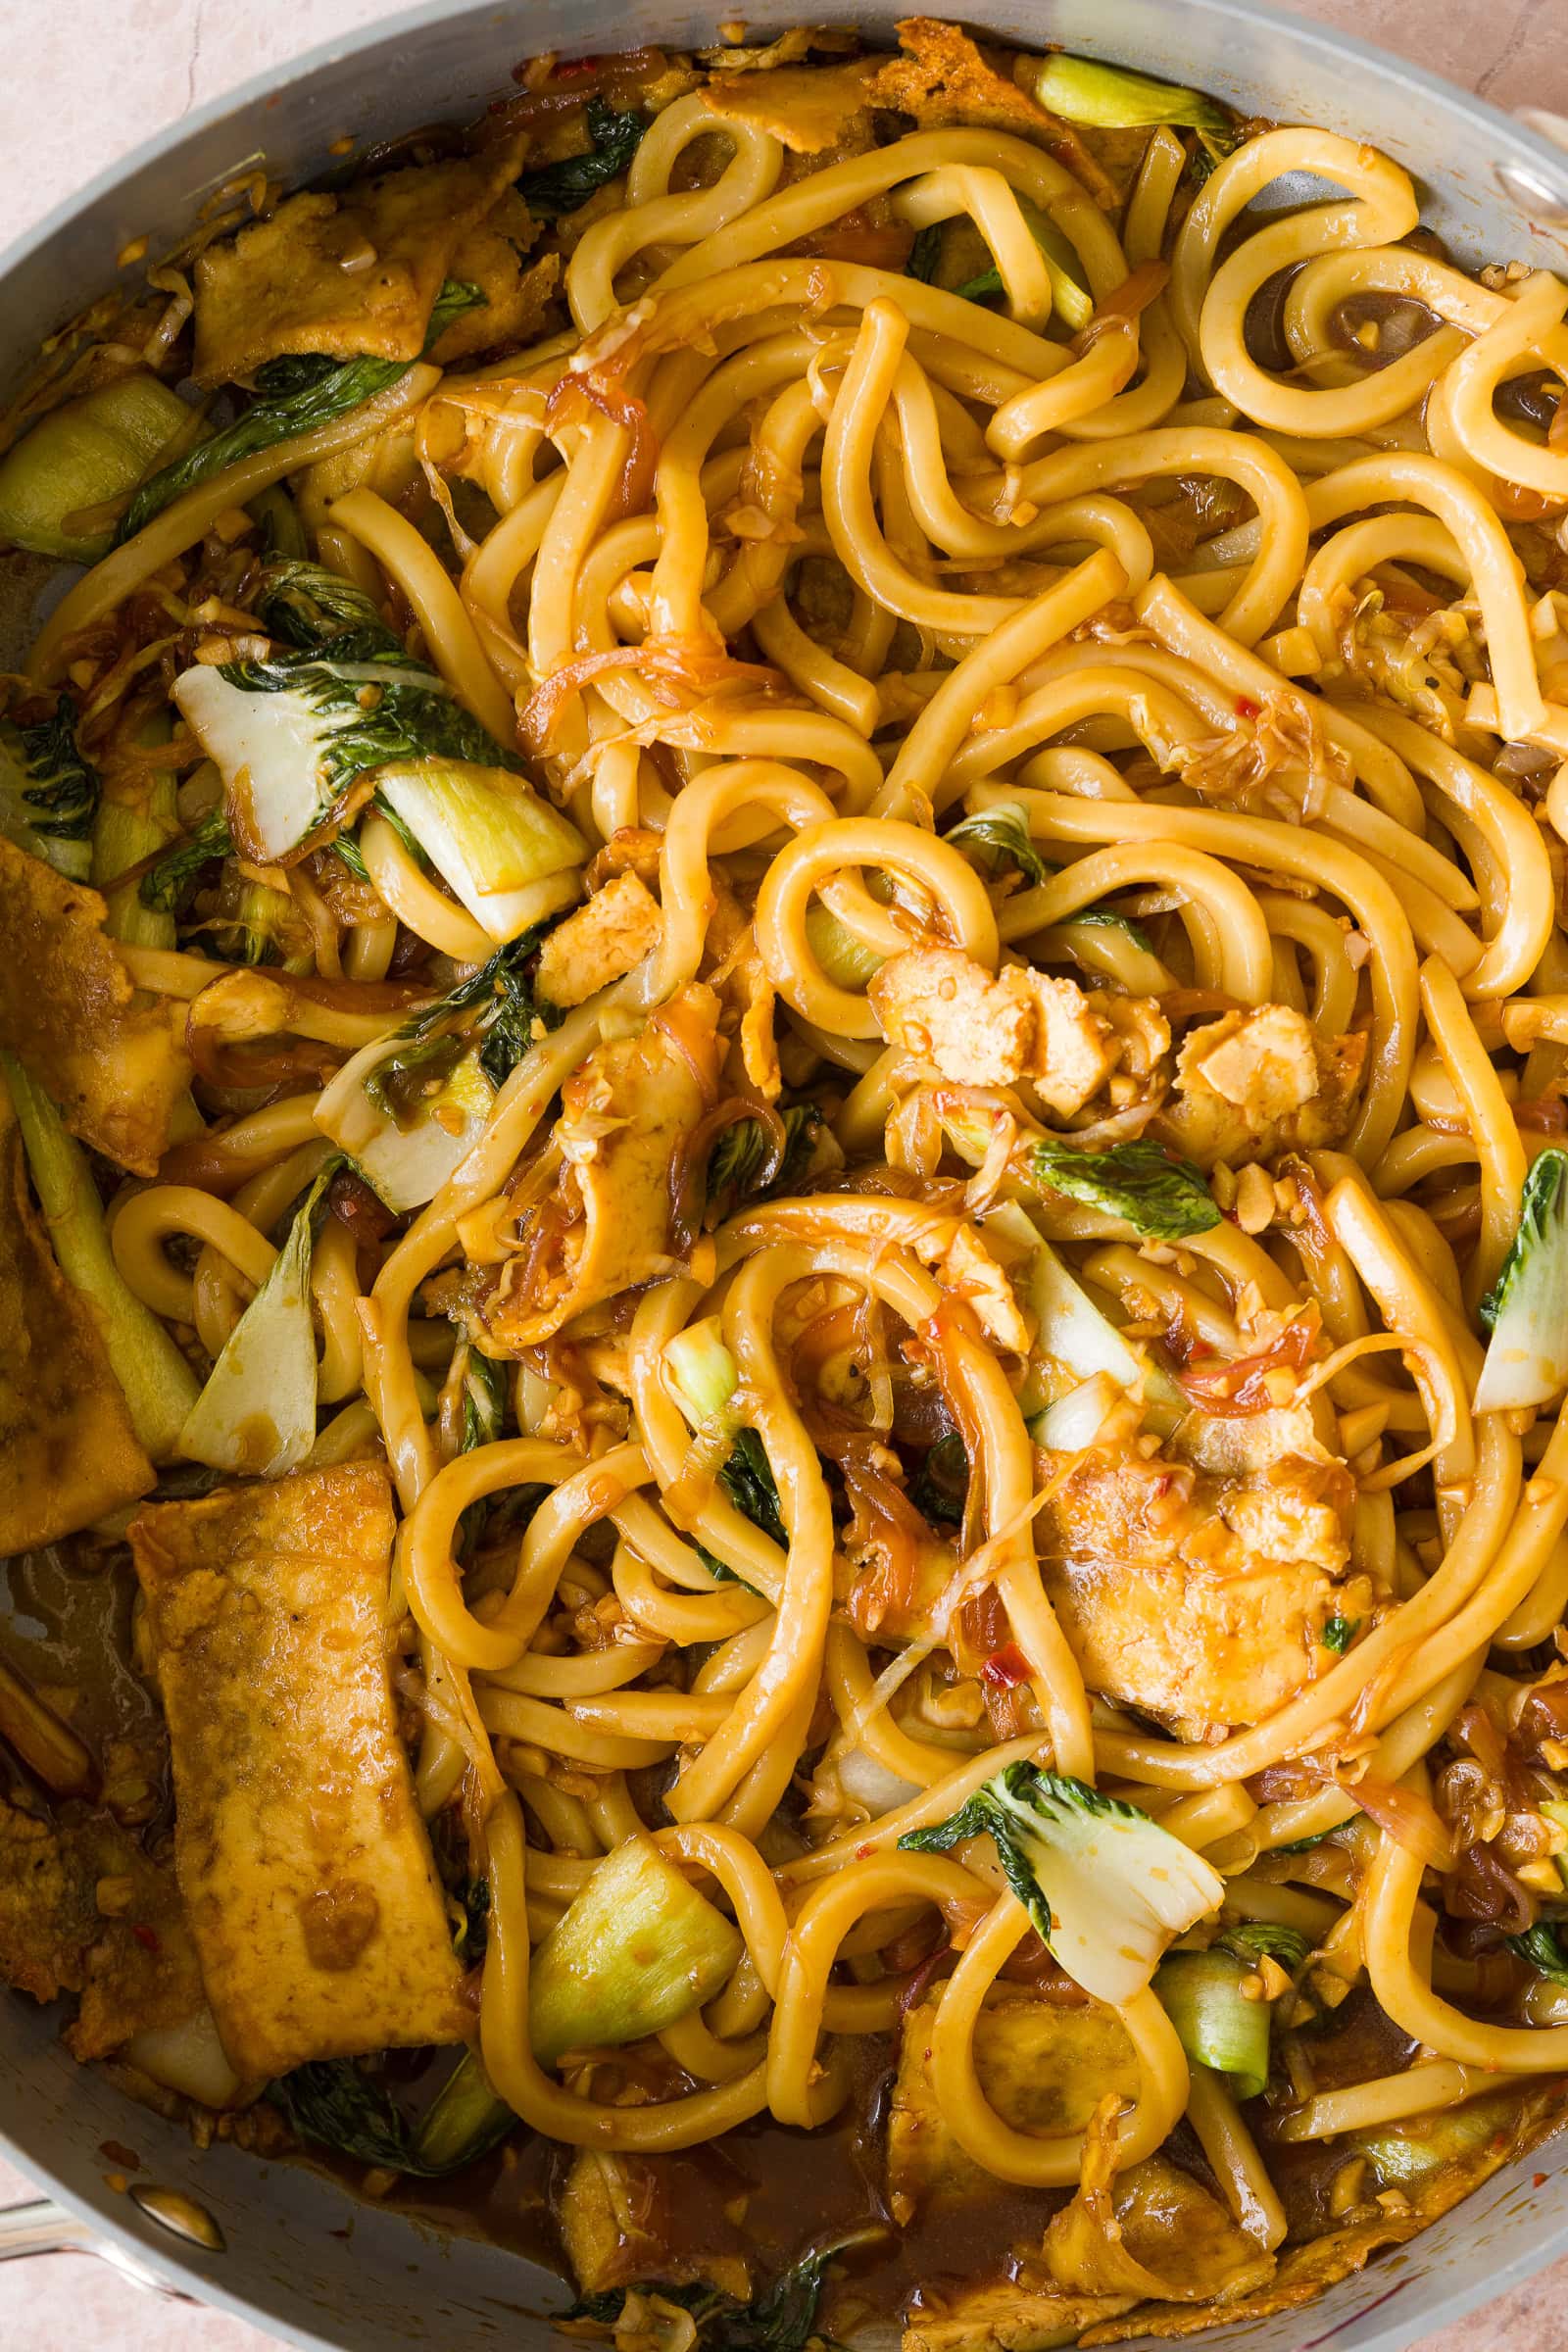
Step 9: Toss everything together and cook for another 1-2 minutes, just until the sauce coats the noodles and tofu. Remove from the heat and serve.
Serving
These udon noodles are filling enough to serve on their own, but you can pair them with a simple vegetable side like steamed edamame, cucumber salad, or roasted broccoli.
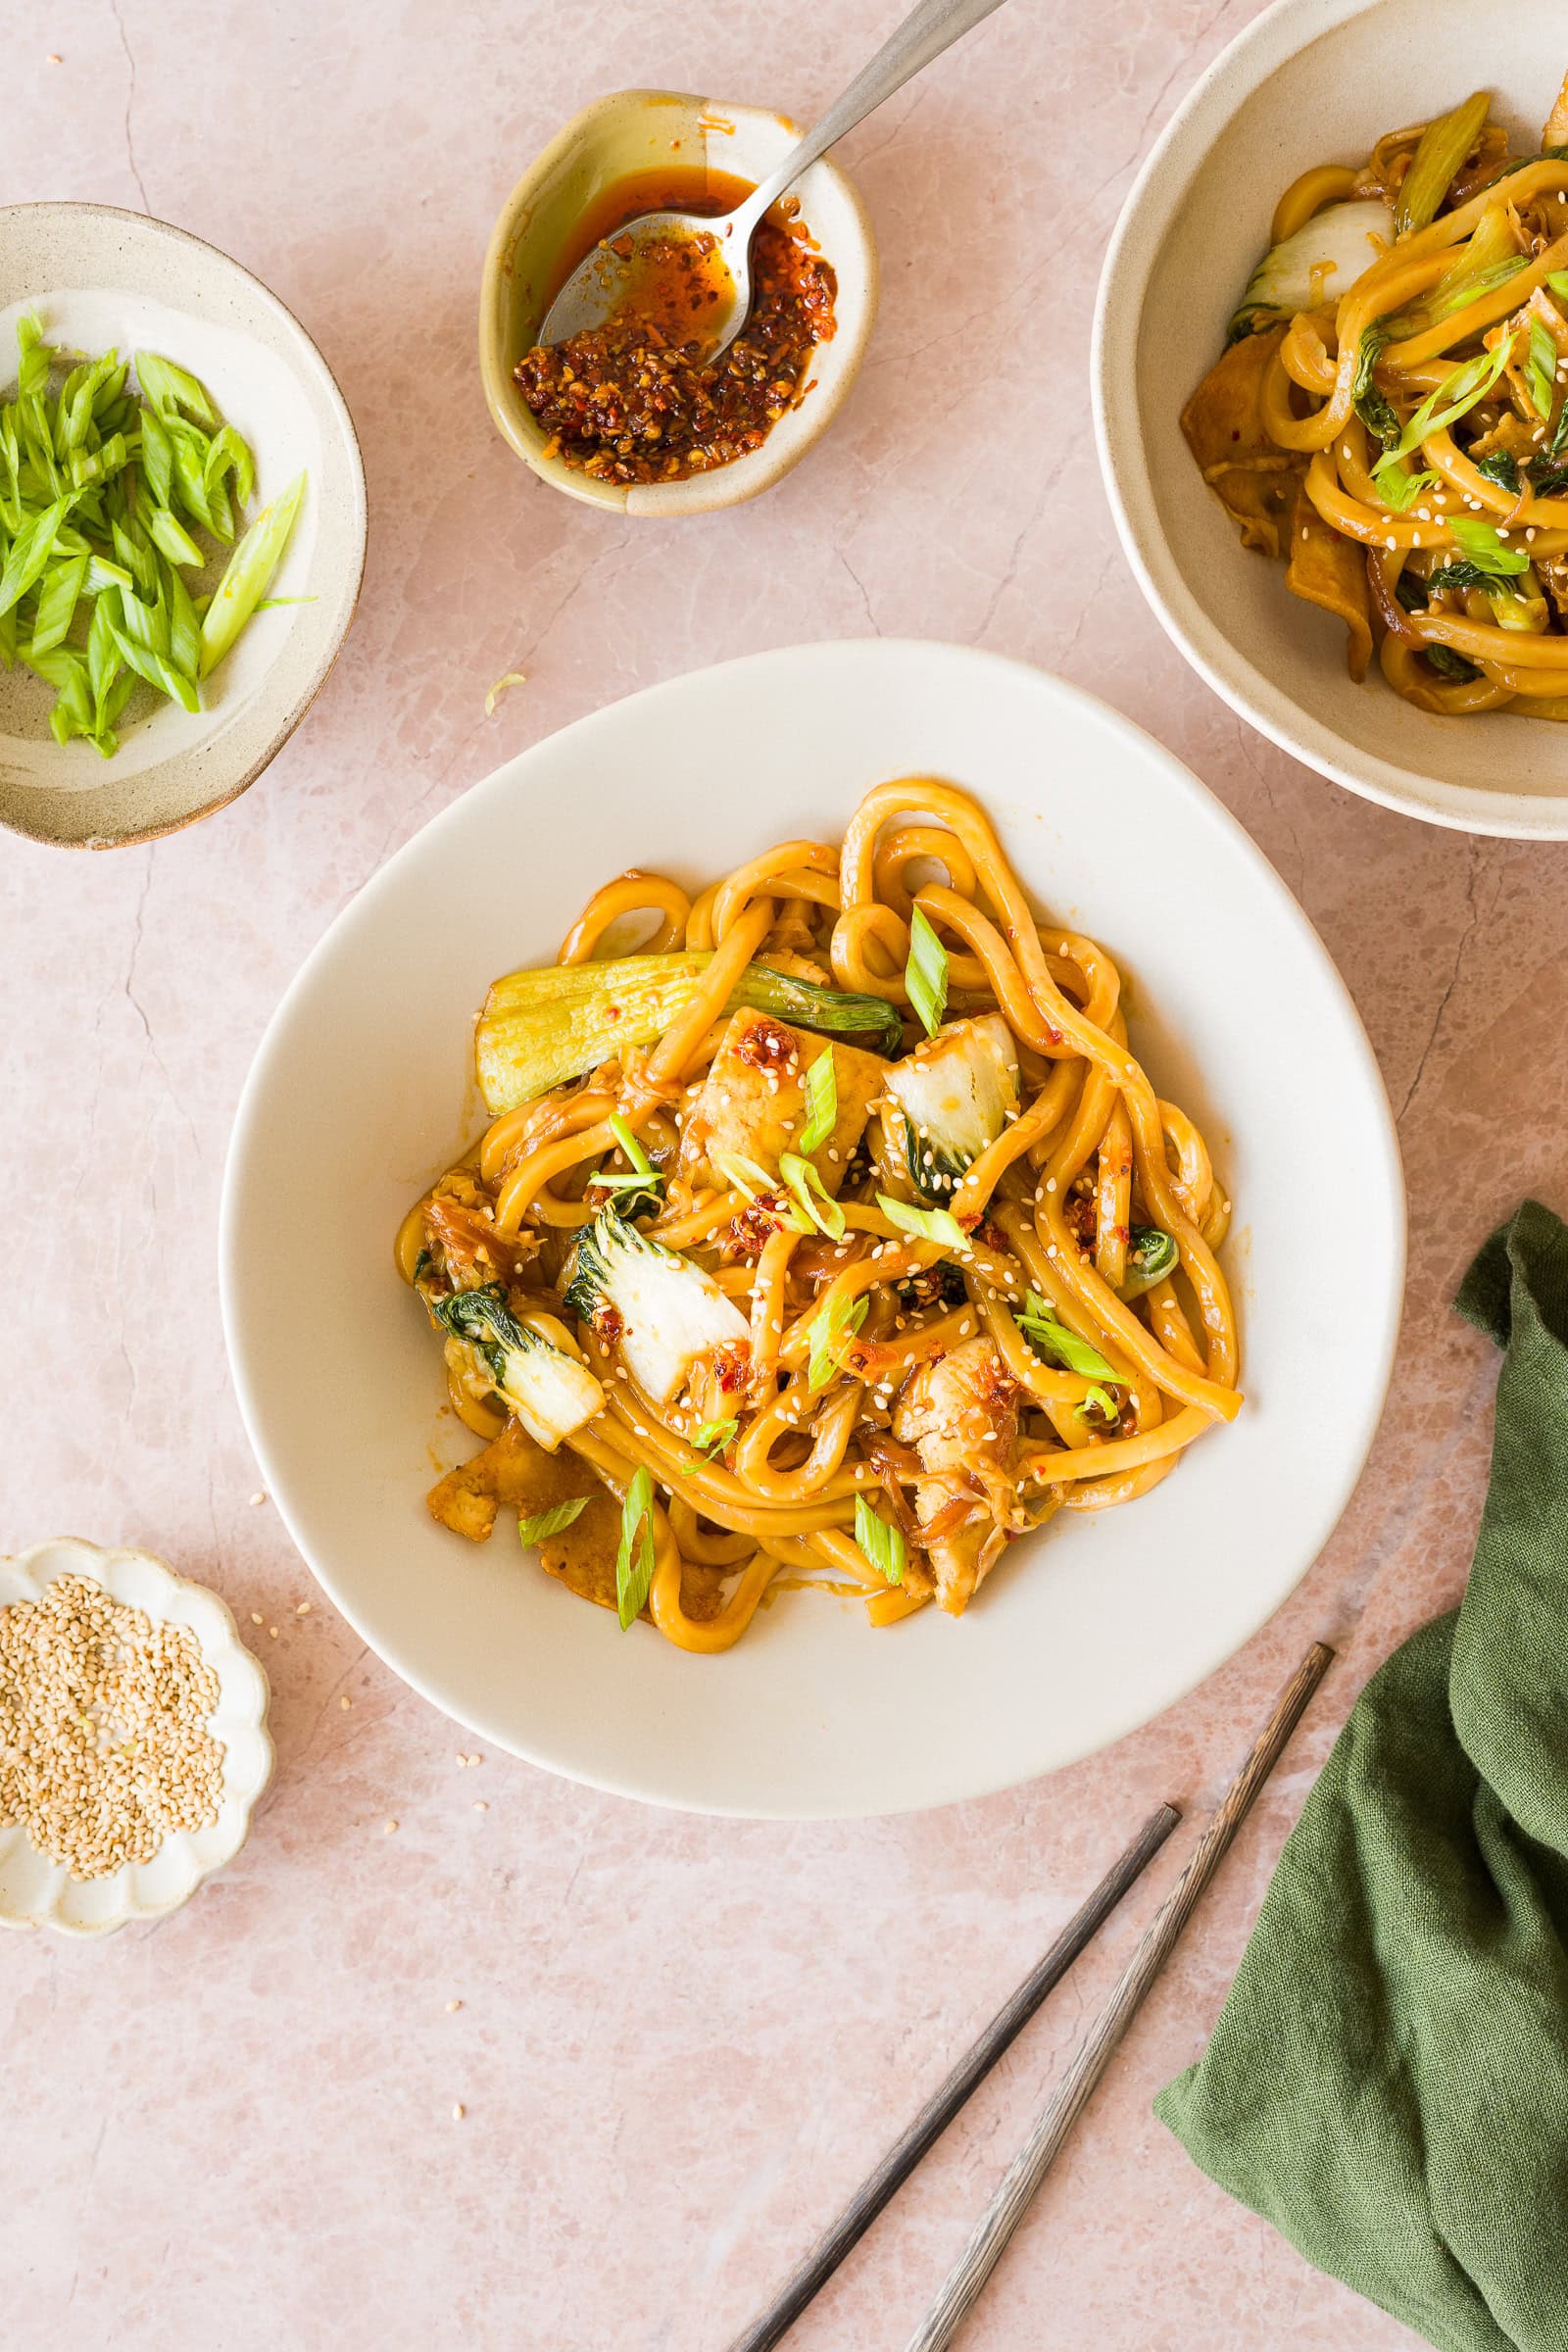
For toppings, try sliced green onions, sesame seeds, extra chili crisp, or a squeeze of lime.
Tips & Tricks
Don't use too much tofu. I found that using too much tofu overwhelmed the noodles and vegetables. About half a block gives you tofu throughout the dish without taking over.
Don't overcook the udon. Frozen udon only needs enough cooking to loosen the noodles. They'll continue cooking briefly when tossed with the vegetables and sauce.
Don't over-thicken the sauce. Let the sauce thicken slightly before adding the udon and tofu, then cook everything together for just a few more minutes. During testing, I found that the noodles and cornstarch-coated tofu absorb quite a bit of sauce, so reducing it too much beforehand can leave the finished dish dry.
Storage and reheating
Store leftovers in an airtight container in the refrigerator for up to 3 to 4 days.
Reheat in a pan over medium heat or in the microwave until warmed through. If the noodles have absorbed most of the sauce, add a small splash of water while reheating to loosen them.
More Tofu Recipes
Looking for more easy tofu recipes? Try these next:


Don't forget to leave a comment and ⭐️⭐️⭐️⭐️⭐️ star rating down below if you try this recipe! Subscribe to my newsletter and follow along on Instagram for more recipes and updates.
Recipe
Chili Garlic Udon Noodles with Tofu
Ingredients
Tofu
- ½ block Extra-Firm Tofu pressed
- 1 tablespoon Cornstarch
- ½ teaspoon Garlic powder
- ½ teaspoon Onion powder
- Pinch of Kosher Salt
- Pinch of Black Pepper
- 2 teaspoons Olive Oil or other neutral oil
Chili Garlic Udon
- 500 g Frozen Udon Noodles
- ½ medium Red Onion thinly sliced
- 5-6 Garlic Cloves minced
- ¼ small Green Cabbage shredded
- 8 ounces Bok Choy
- 3-4 Green Onions white and green parts separated
Sauce
- 3 tablespoons Low-Sodium Soy Sauce
- 2 teaspoons Dark Soy Sauce
- 1 tablespoon Hoisin Sauce
- 1 tablespoon Rice Vinegar
- 2 teaspoons Organic Cane Sugar
- ½ - 1 tablespoon Trader Joe's Crunchy Chili Onion or other chili oil to preference, see note
- 3 tablespoons Water
Instructions
- Preheat oven to 400℉.
- Press the tofu to remove excess moisture. Use a mandoline or sharp knife to slice it into thin pieces. Carefully toss with cornstarch, garlic powder, onion powder, salt, and black pepper until evenly coated. It's completely fine if a few pieces break apart (in fact, it's a good thing!)
- Bake the tofu until browned and crisp, about 18-20 minutes. Set aside.
- Whisk together the low-sodium soy sauce, dark soy sauce, hoisin sauce, rice vinegar, sugar, chili oil, and water.
- Cook the frozen udon according to the package directions just until the noodles loosen. Drain and set aside. Avoid overcooking, as the noodles will cook again briefly in the sauce.
- Sauté the red onion, garlic, shredded cabbage, bok choy, and white parts of the green onions until the vegetables are tender but still have some texture.
- Pour the sauce into the pan and cook briefly, just until it begins to thicken slightly.
- Add the udon and crispy tofu and toss until everything is evenly coated. Cook for just a few more minutes, until the sauce clings to the noodles. Don't let it reduce too far as the udon and tofu will continue absorbing and thickening the sauce.
- Remove from the heat and finish with the green parts of the green onions. Serve immediately.
Notes
Disclosure: This page contains some affiliate links. Please know that I may receive a percentage or commission from a link included on this page, at no extra cost to you. I will only ever recommend a product I have used and believe has substantial value to my readers.




Anna says
So good. I leave the chili out for the little peeps in the house.
Liv says
Thank you for leaving a review!! Glad you liked it 🙂